


The Perfect Sandwich Bread
It's finally here!

Hello American Gravy Subscribers. Let’s talk about everyone’s favorite subject, bread. While many of you know my love for sourdough(RIP Charlene, IYKYK), I wanted to provide a recipe that everyone can make and enjoy. This will be your #1 go to sandwich bread recipe, goodbye store bought bread! It is soft, it is fluffy and it is mouth-watering good. Grab the butter baby!
First things first, get your ingredients together:
7g Active Dry Yeast
36g Honey (12g for yeast, 24g for dough)
1 1/2 tsp salt
555g or 4 1/3C AP flour
1/4 tsp Apple Cider Vinegar
30g Unsalted Butter
Water
Optional* I highly recommend a scale & stand mixer. If you do not have a scale, you can easily convert with a google search. You CAN knead the dough by hand. Get ready for a killer arm workout!
Now let’s get started
Activate that yeast!!
Place 240mL of lukewarm water in the mixer bowl of your stand mixer.
Stir in 12g of honey to dissolve.
Sprinkle 7g of yeast over the water. Gently stir to mix.
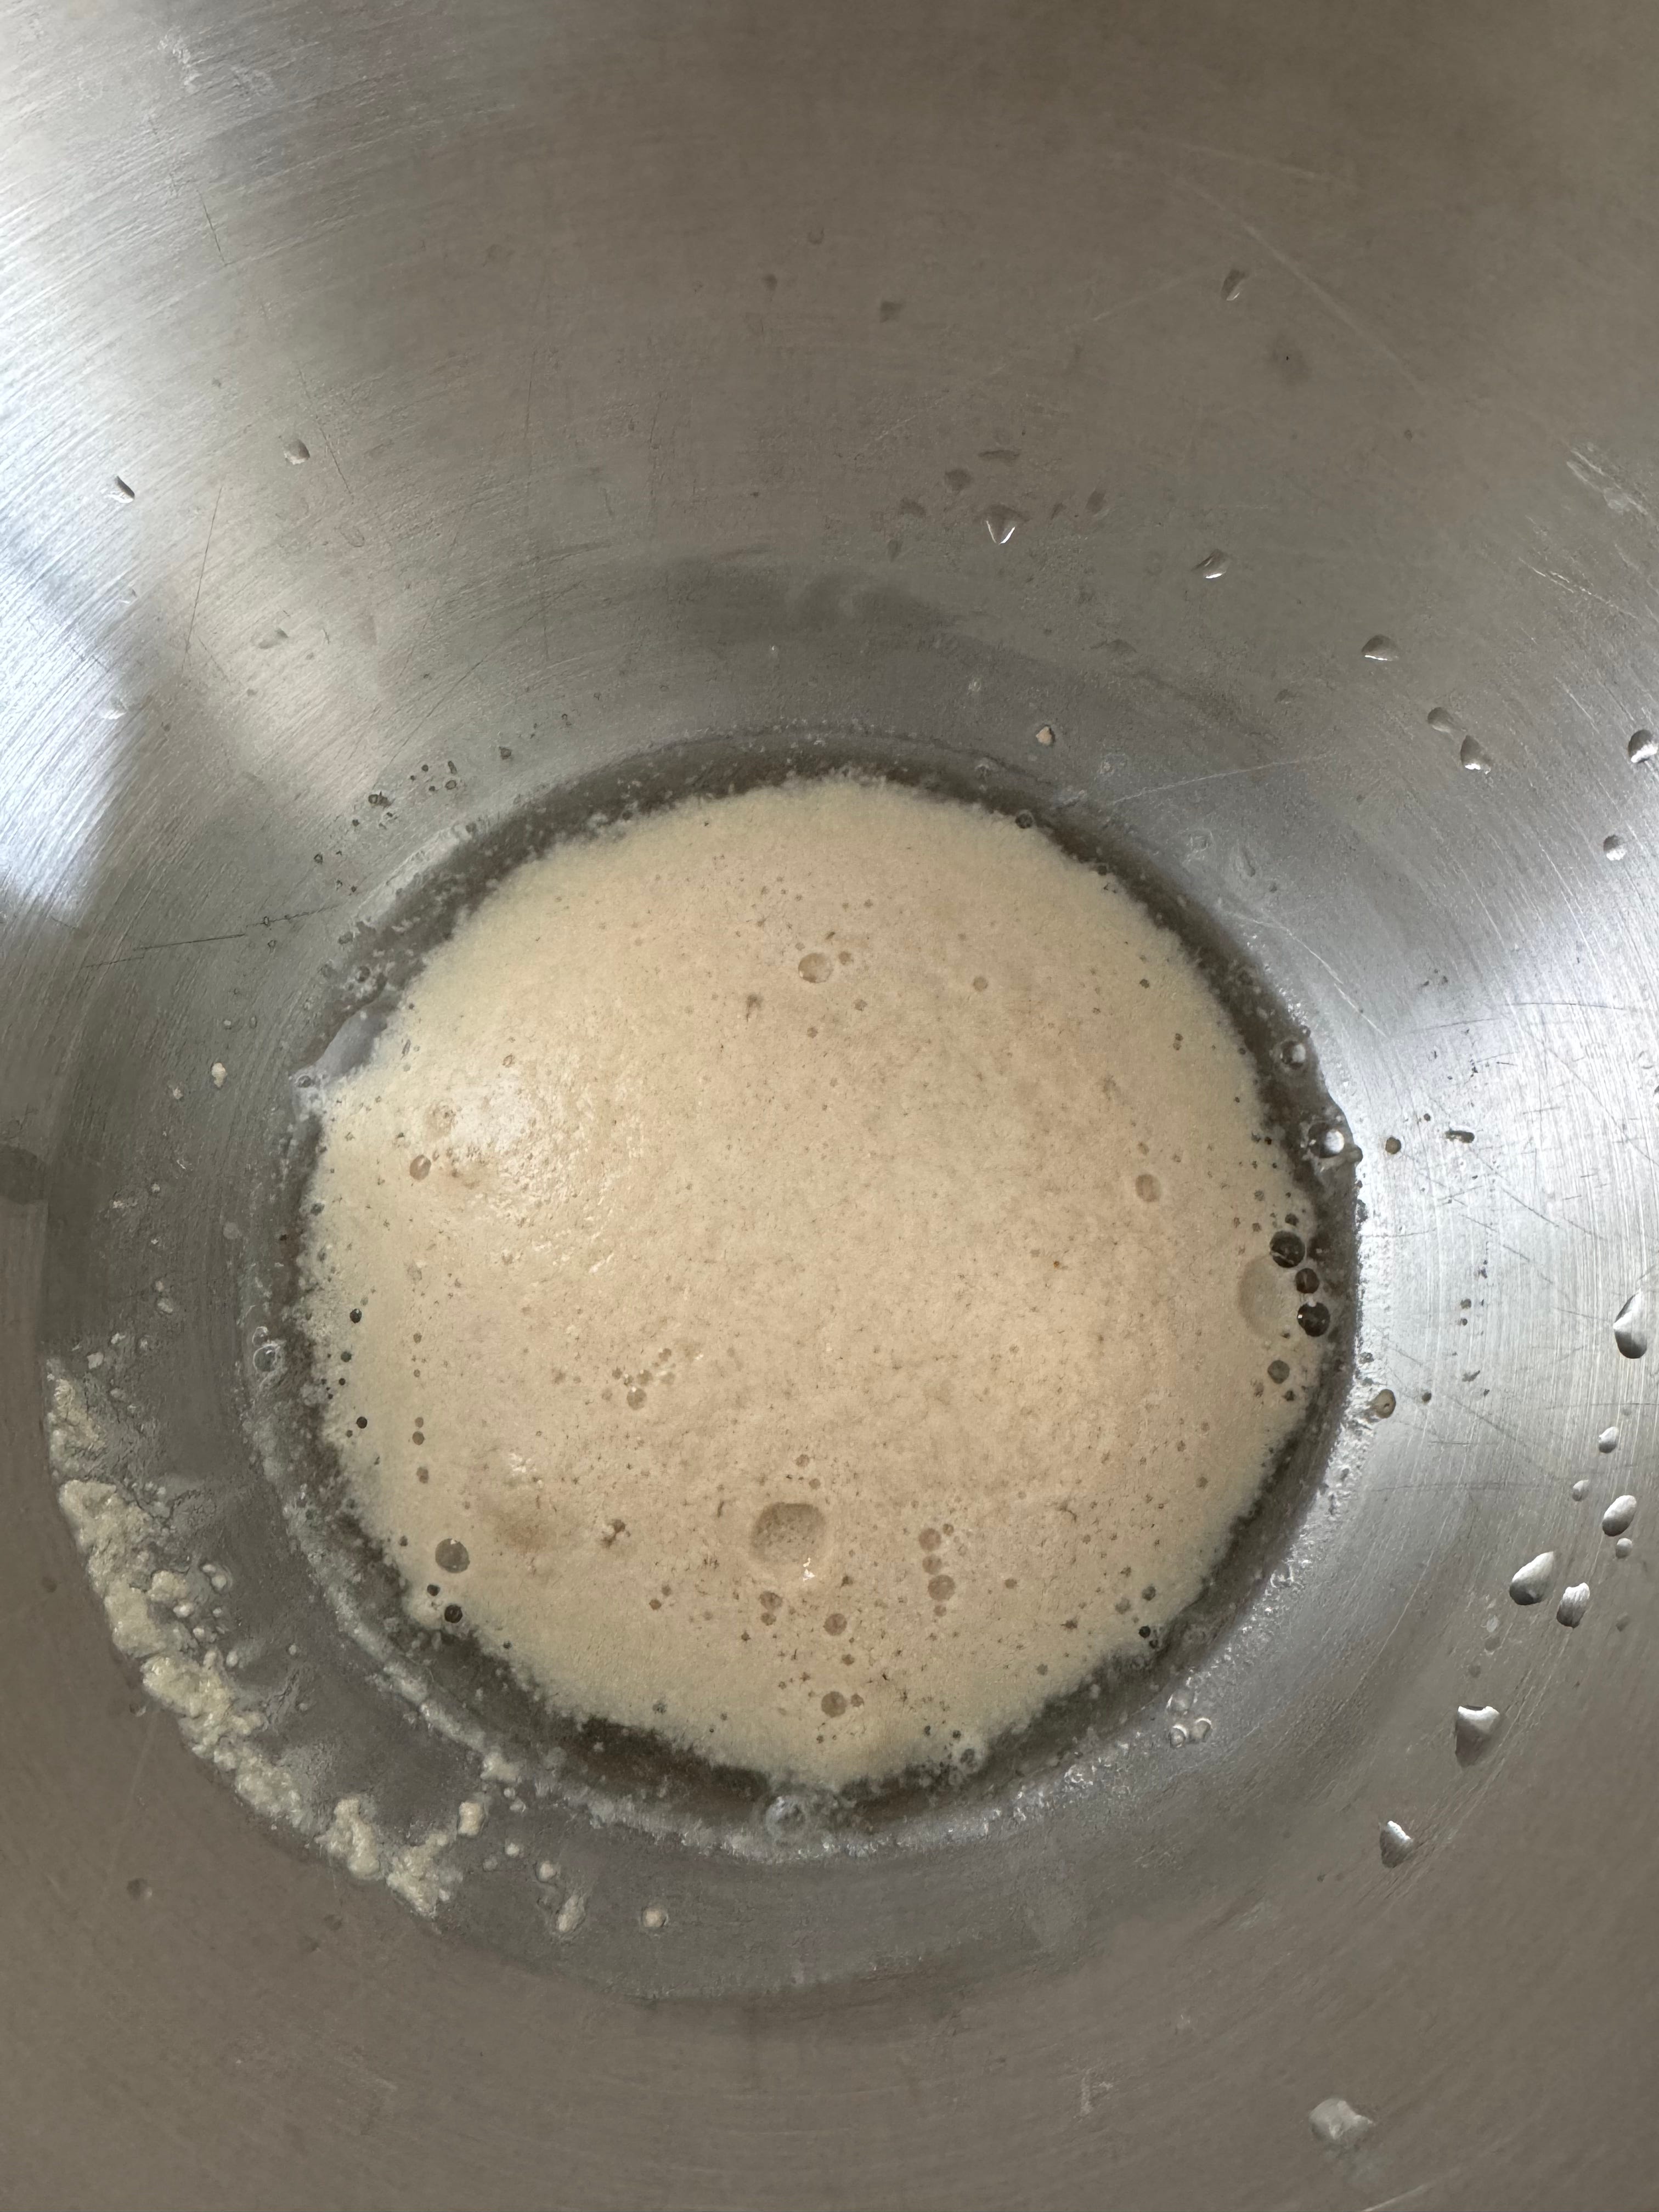
Allow the yeast to sit in a warm place for about 15 minutes, until it’s activated and becomes frothy. This could take longer if your yeast was in the freezer. If the yeast doesn’t activate (no frothy bubbles), then your yeast is most likely old and you will need it replaced.
Once the yeast is activated, you’re ready to make the dough.
Bread loaf
Proofed yeast mixture (ingredients listed above)
555g or 4 ⅓ cups leveled - All Purpose Flour
120mL lukewarm water – more if needed.
1 1/2 tsp kosher salt
24g honey
1/4 tsp Apple Cider Vinegar
30g unsalted butter (slightly melted)
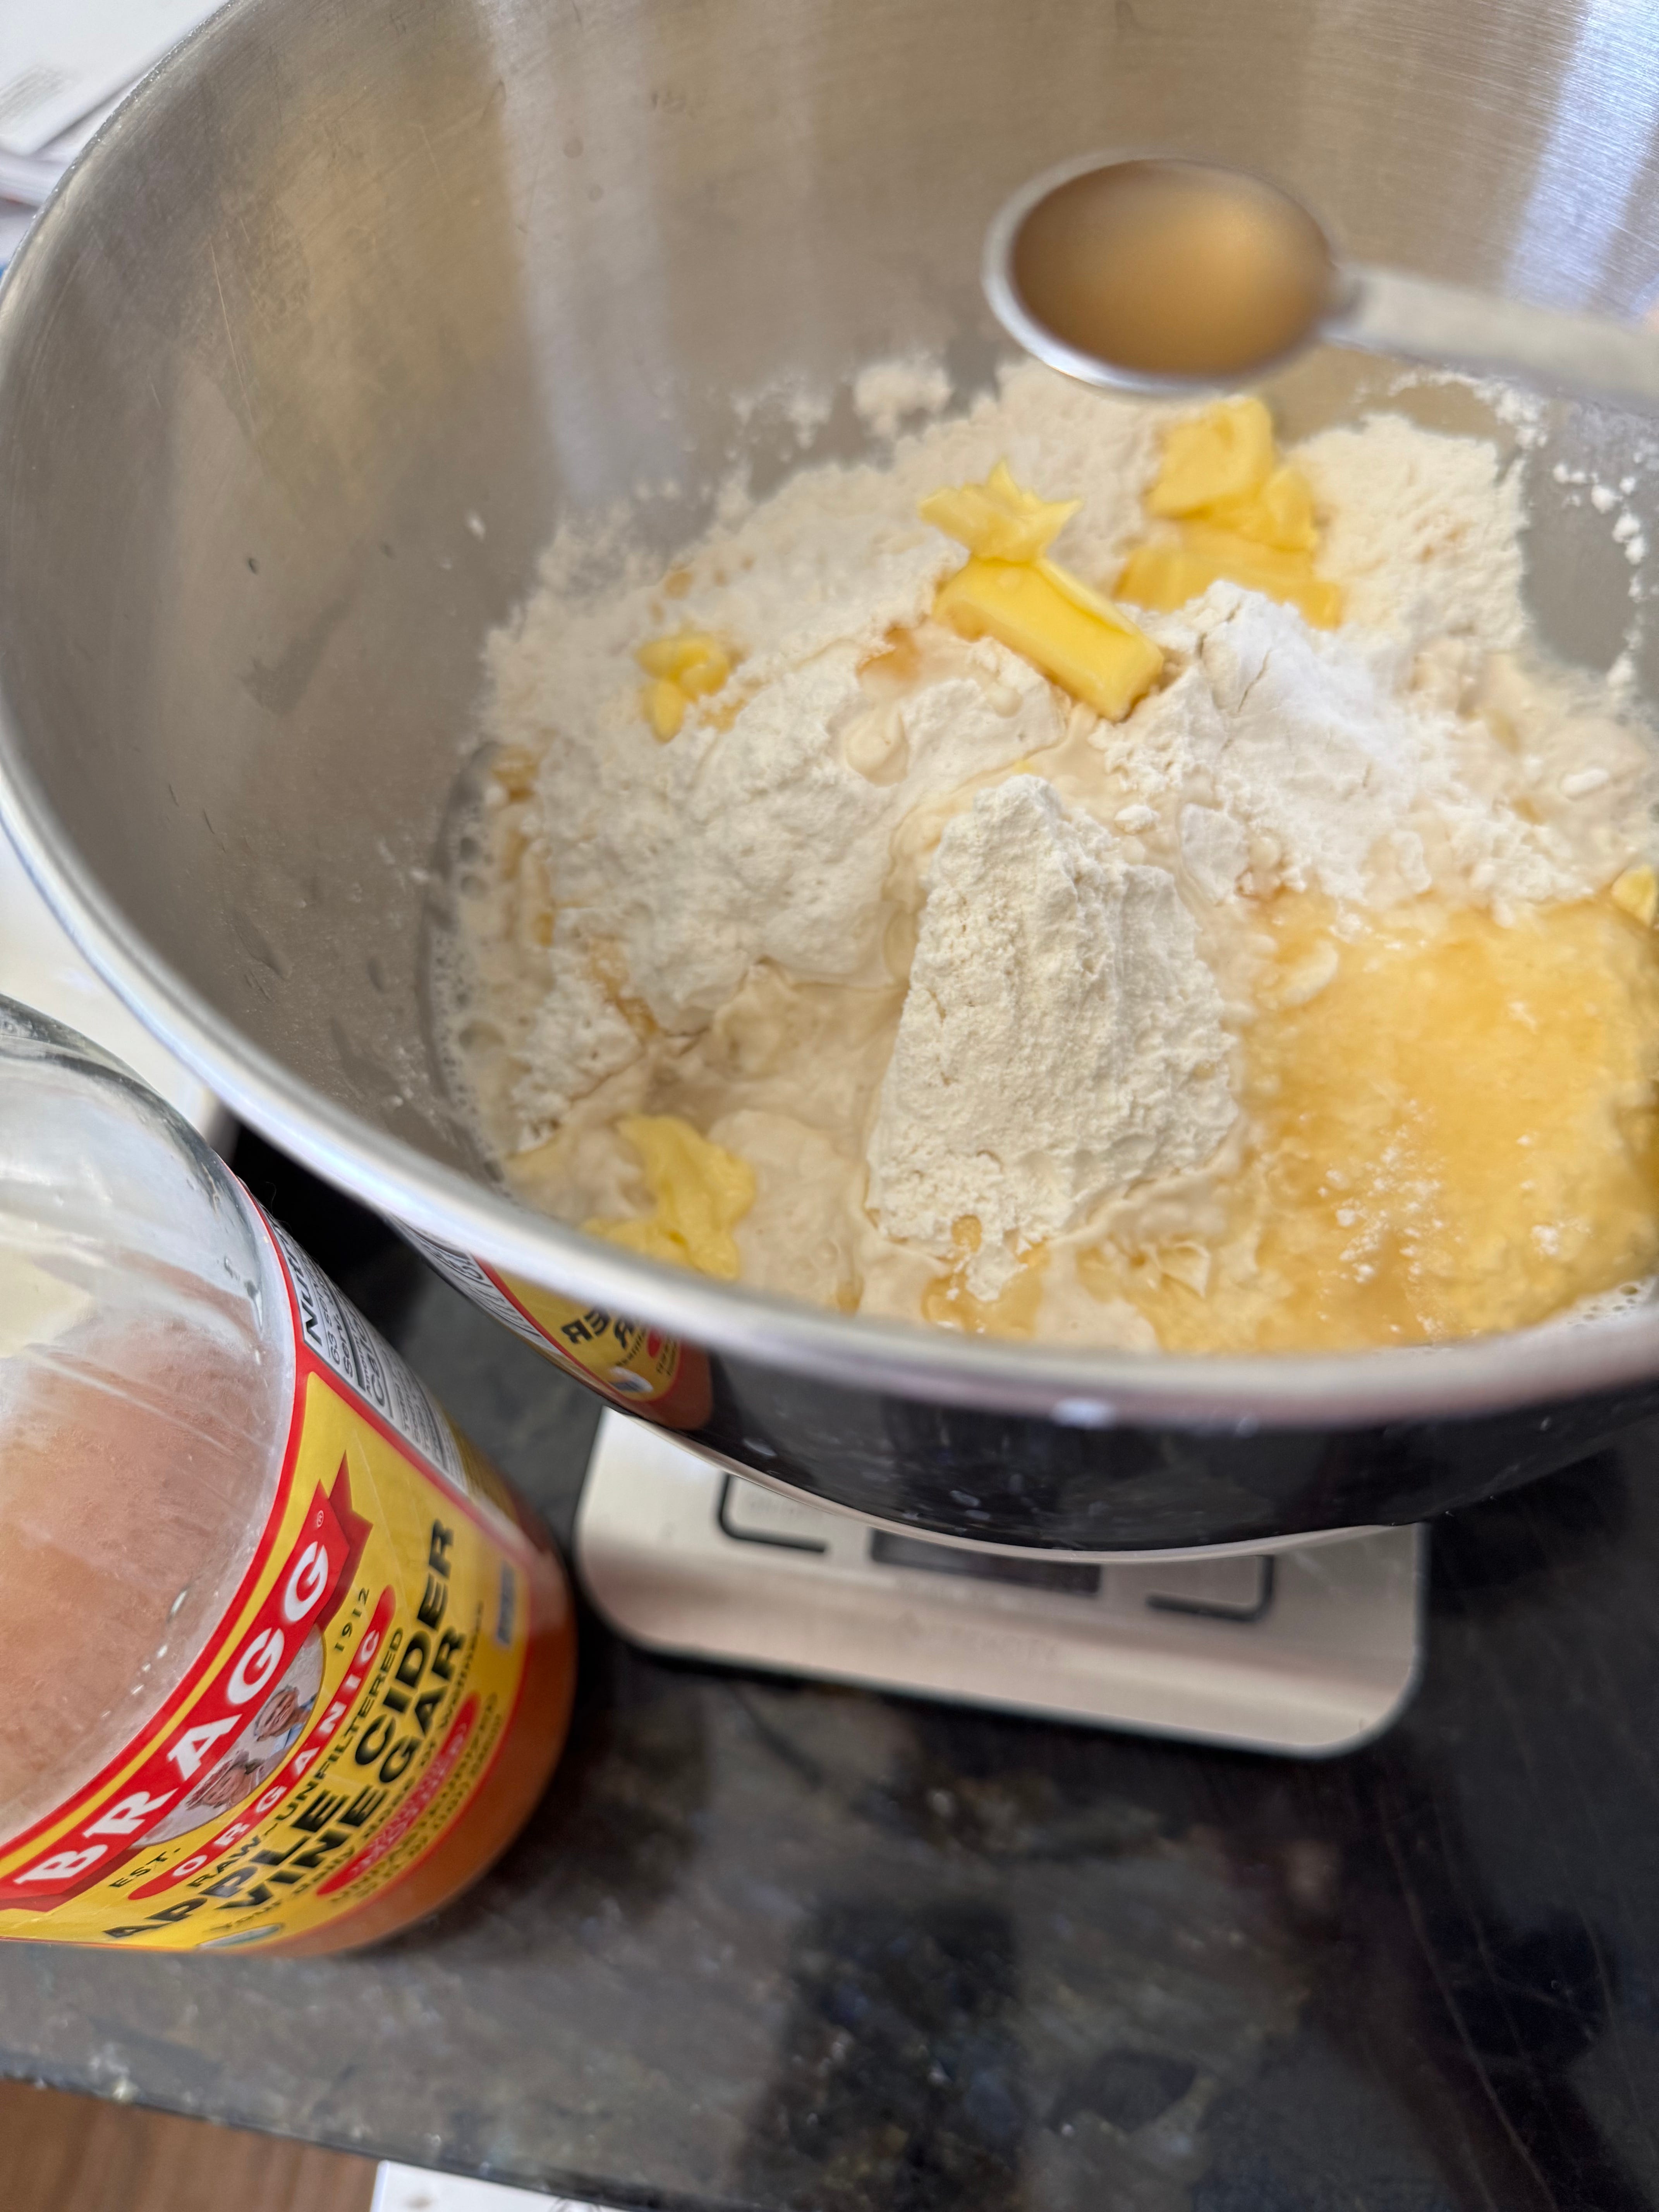
To the proofed yeast mixture, add the flour, warm water, salt, honey, apple cider vinegar and softened butter.
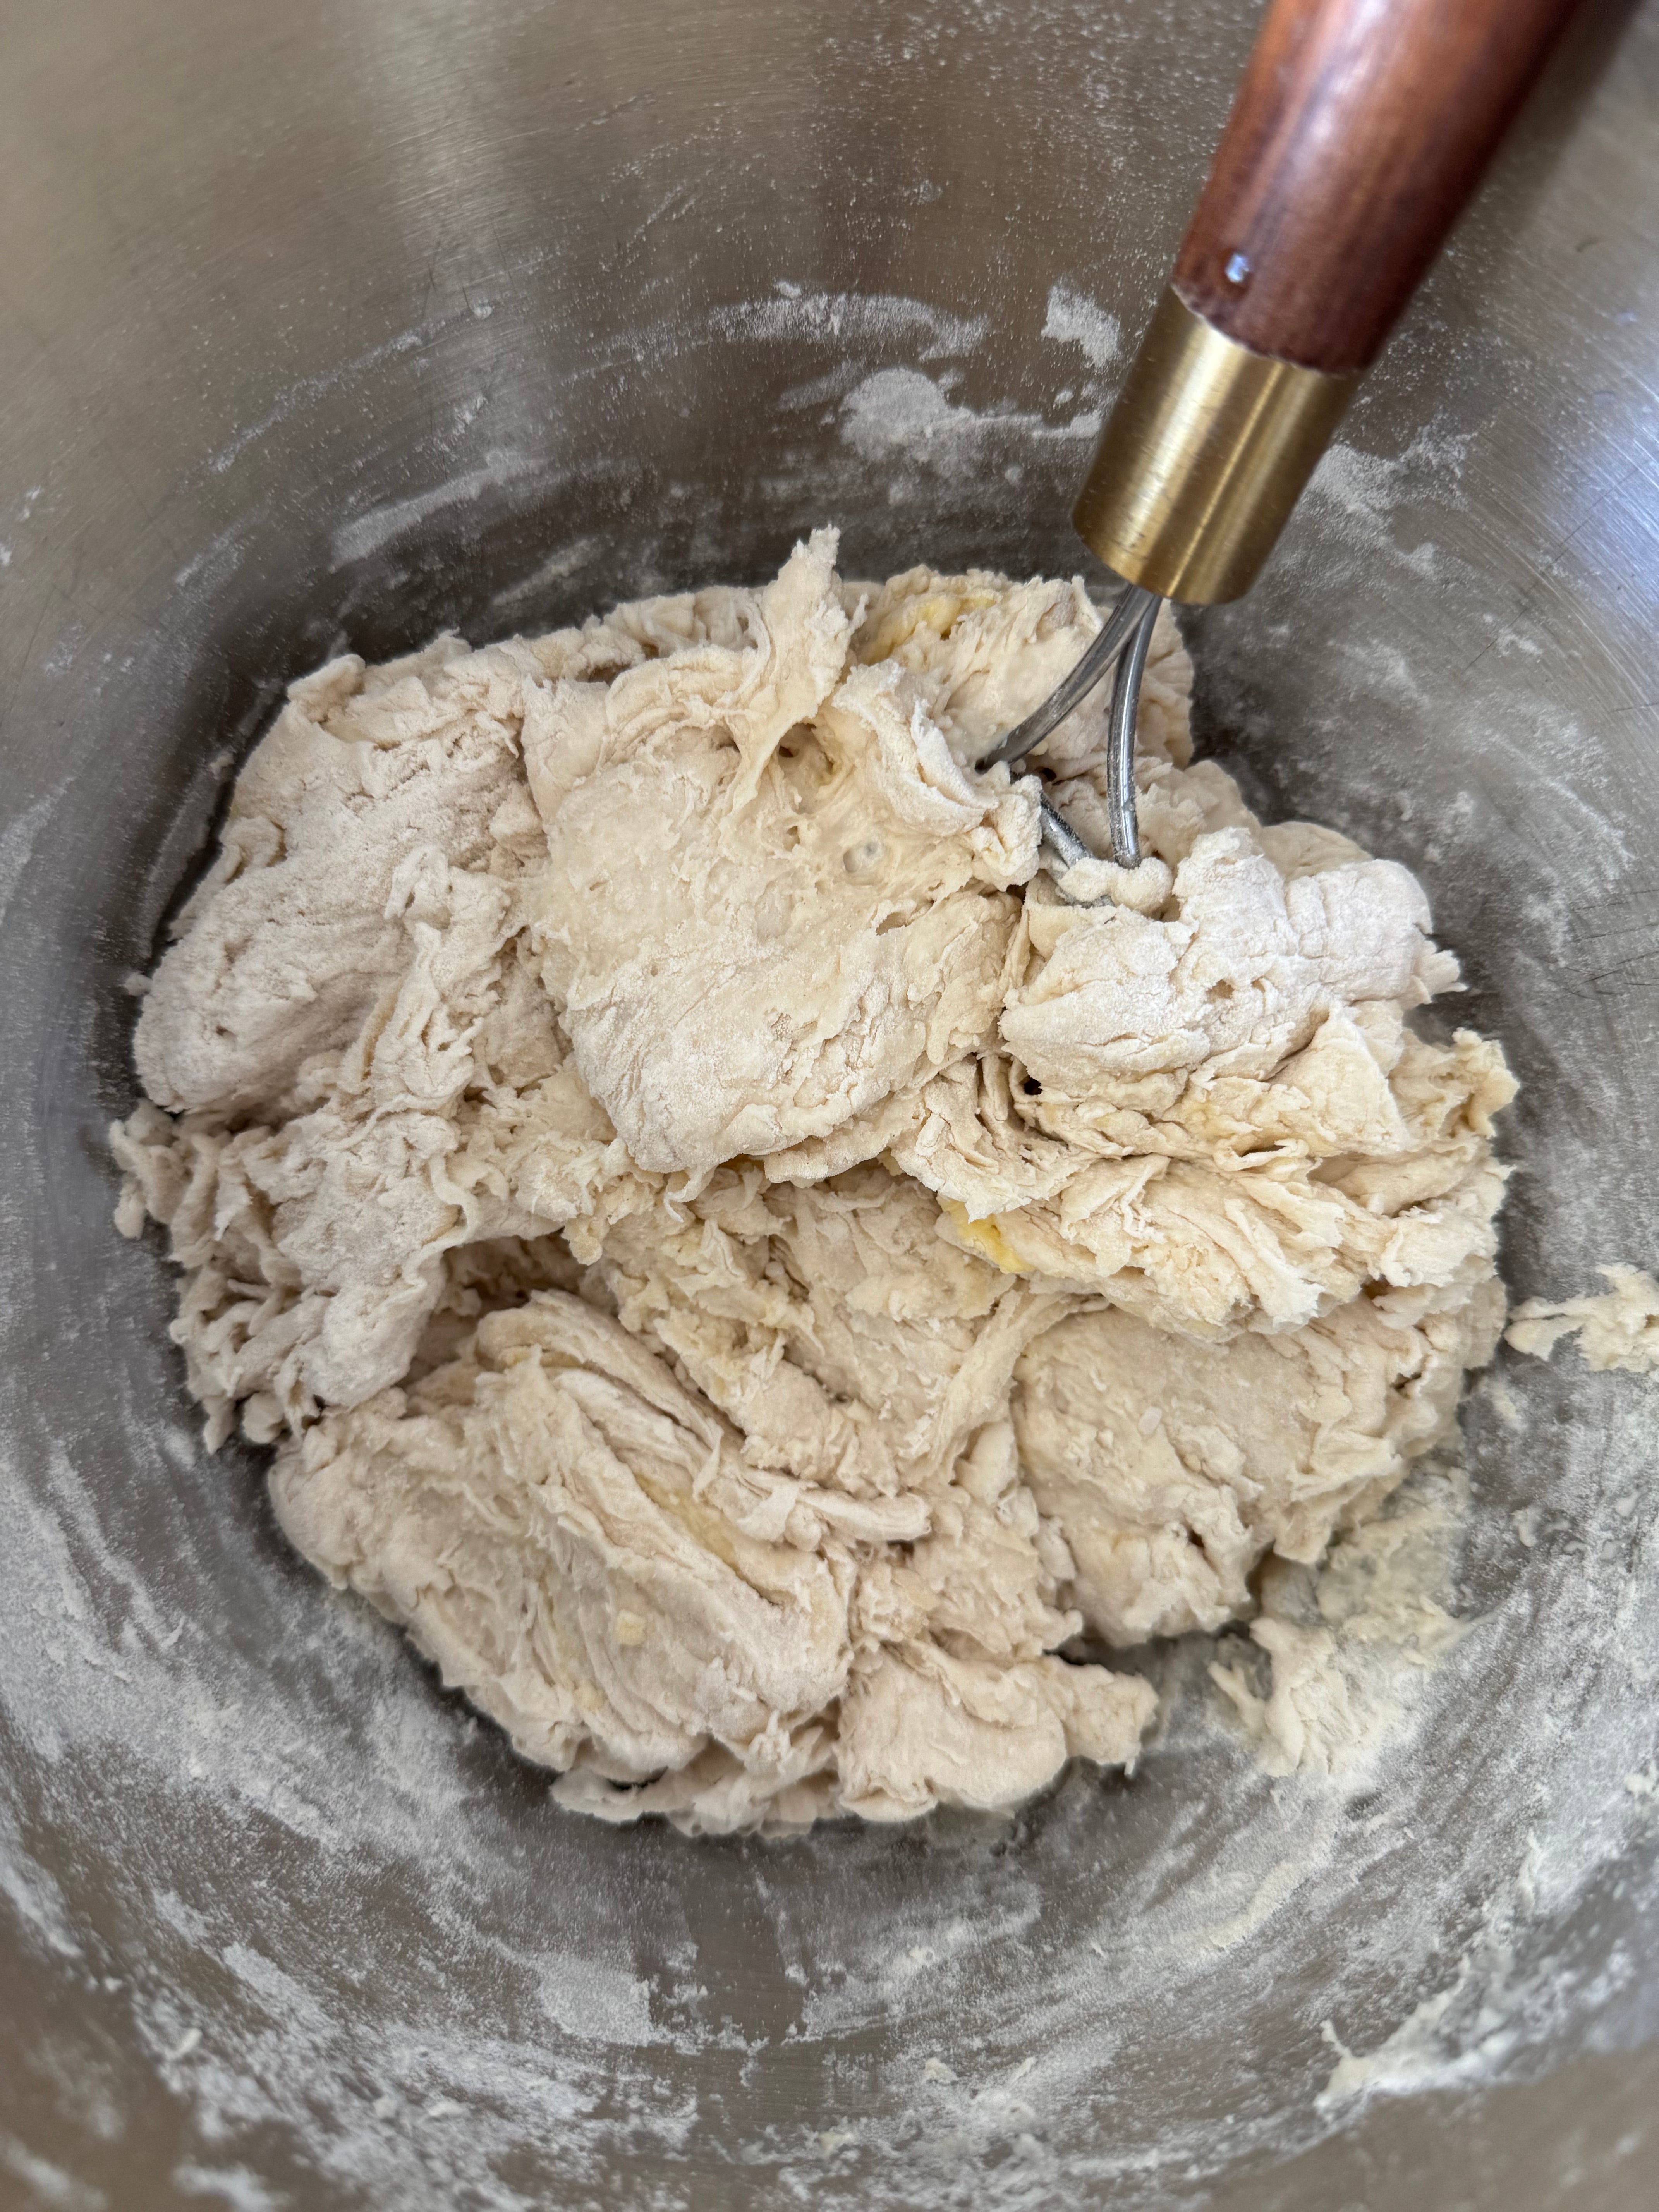
Using a dough whisk or a spatula, mix the ingredients to form a shaggy dough.
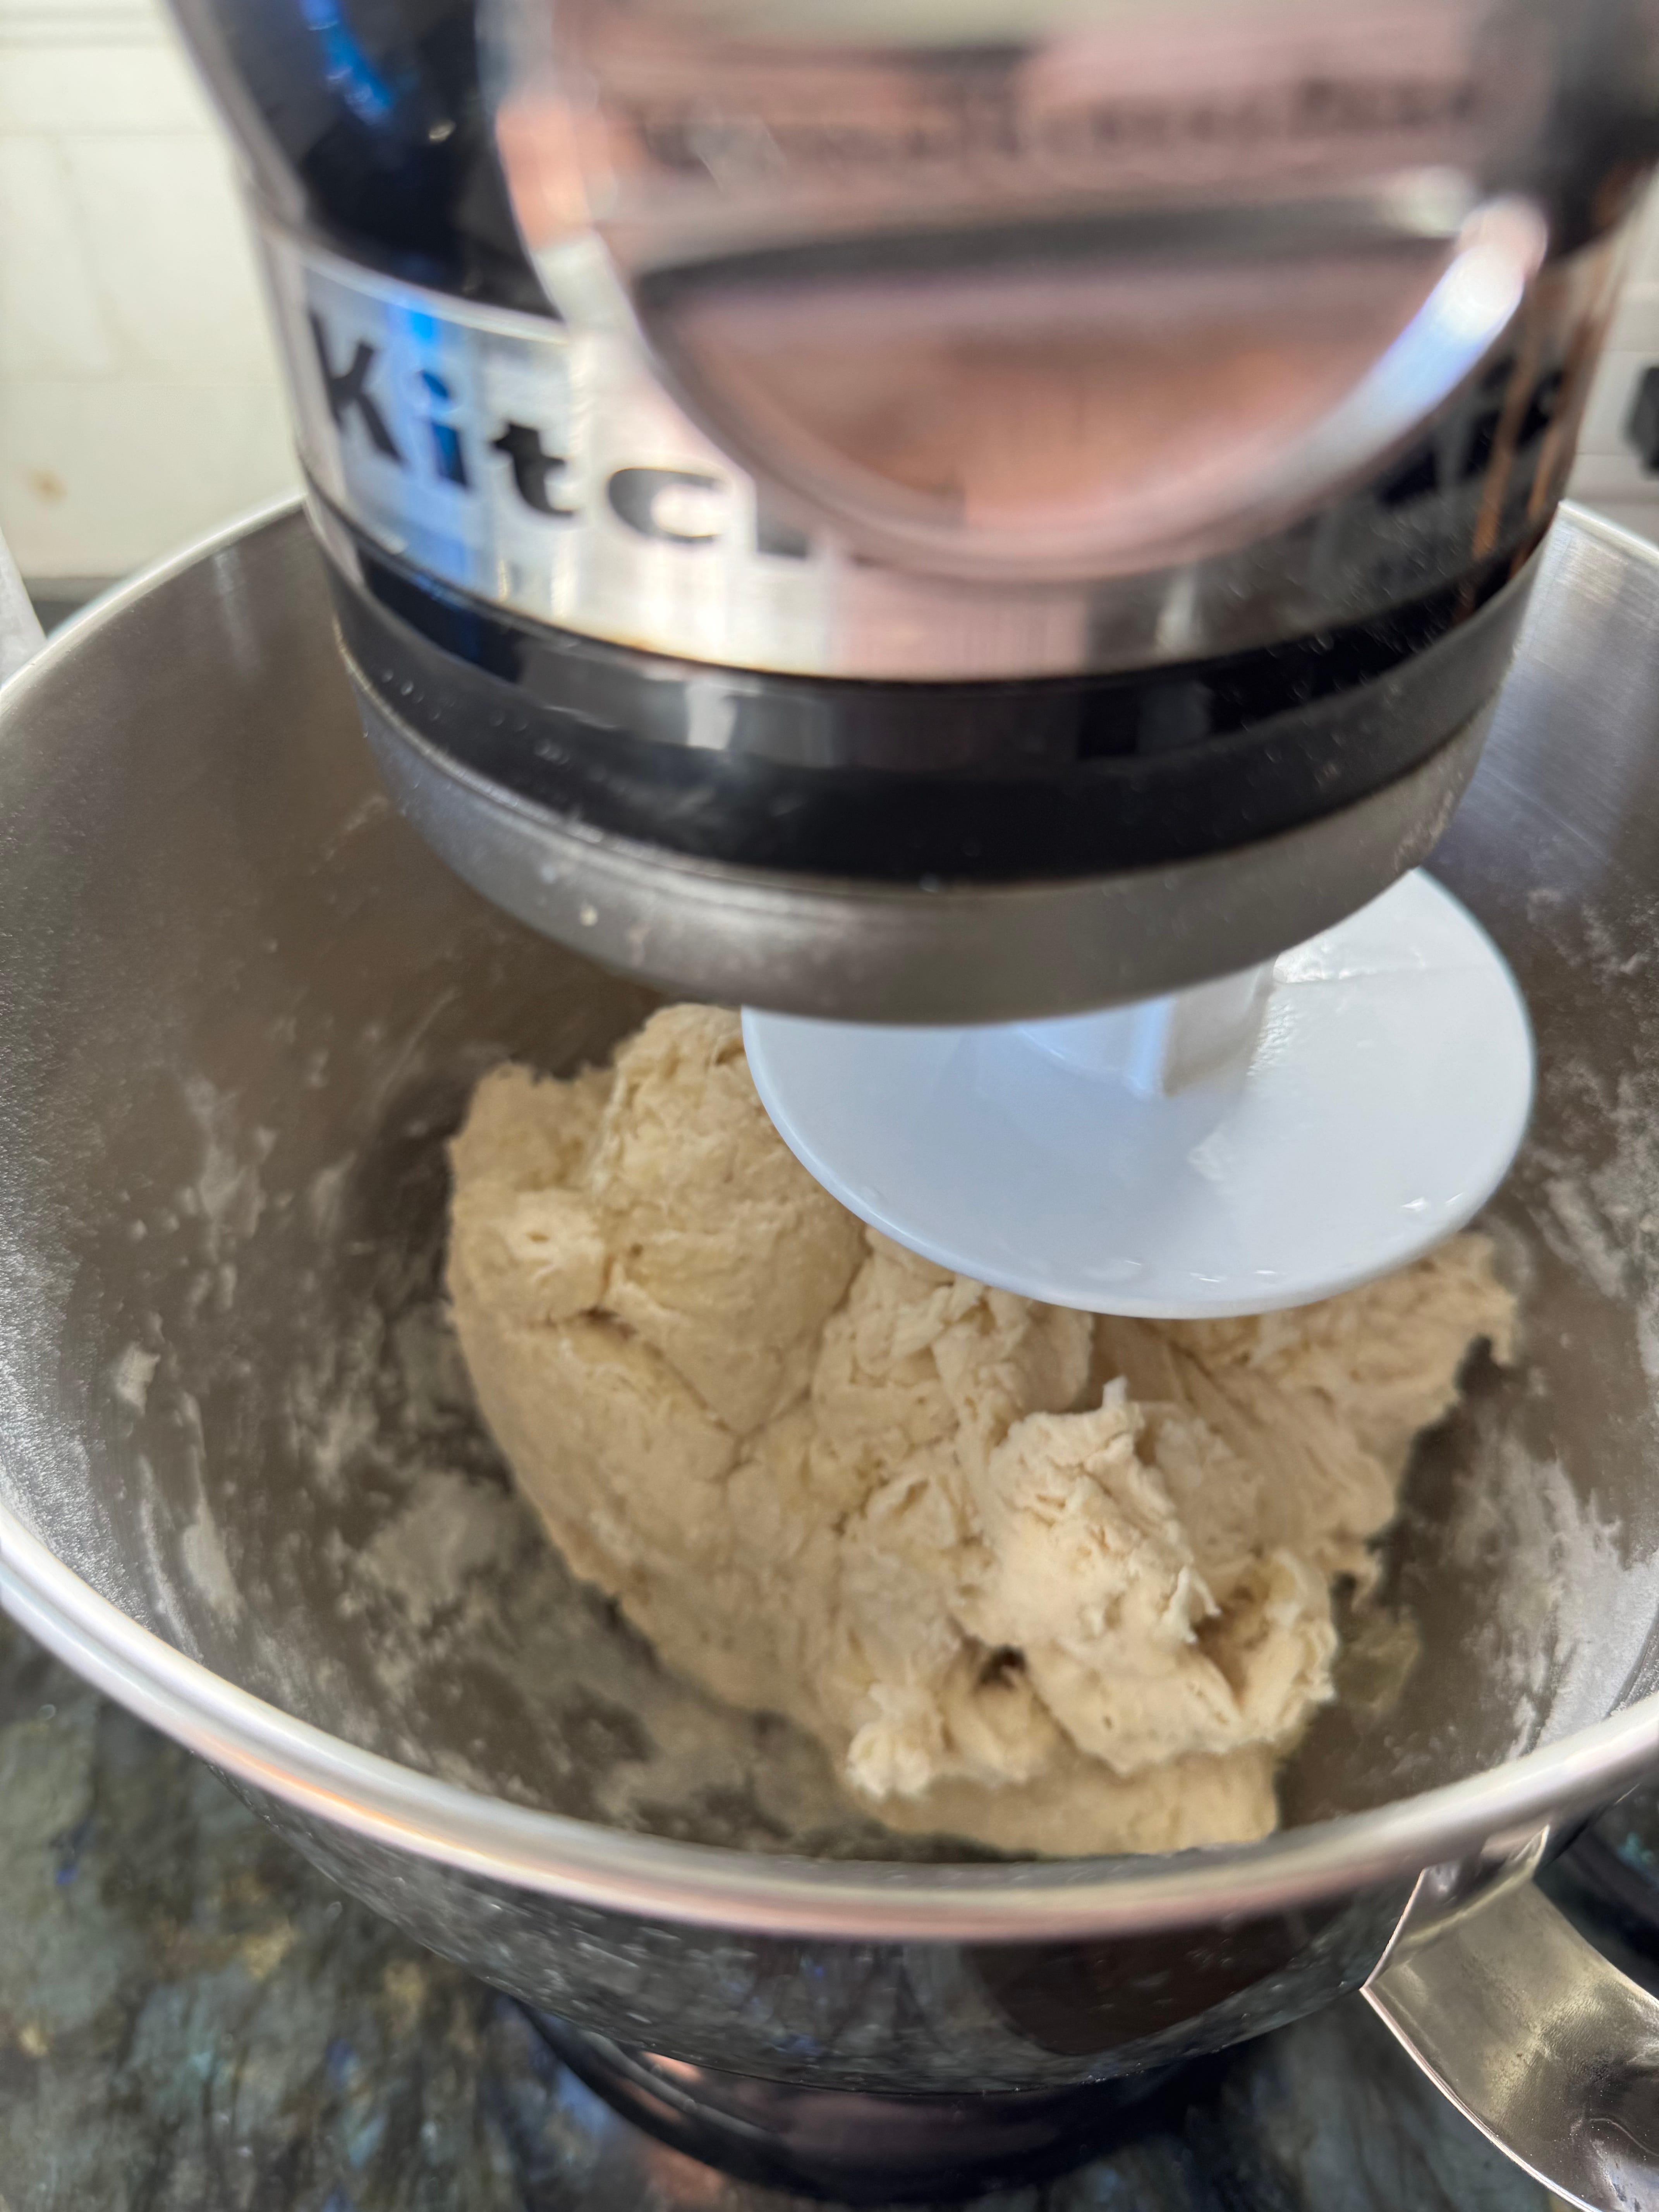
Place the bowl in the mixer with a dough hook attached, and knead the dough on low speed for about 2 – 5 minutes, until the dough comes together to form a ball.
Increase the speed by 1 or 2 levels (speed 3 or 4 in a kitchen aid mixer) and knead the dough for another 8 minutes or so until it's smooth and elastic.
Check on the dough every few minutes to make sure it’s kneading well, and is not too dry or too wet. The dough is going to be very sticky and wet at the beginning, and become smoother the longer it is kneaded.
Check if the dough has the right consistency after about 8 minutes of kneading – Increase the speed of the mixer to about 5 or 6 just for a minute or two.
If the dough is sticking to the sides of the bowl, then it’s too wet. Add a touch of flour about a tsp at at a time. If the dough is still tacky but is coming off the sides and sticking to the bottom of the bowl, then it's at the right consistency. When you lift the dough hook from the bowl, and the dough isn’t sticking to the bottom of the bowl, the dough might be too dry. You may need to add a little extra water (½ tsp at a time), to get the right consistency. The dough should be smooth, a little soft and tacky to the touch.
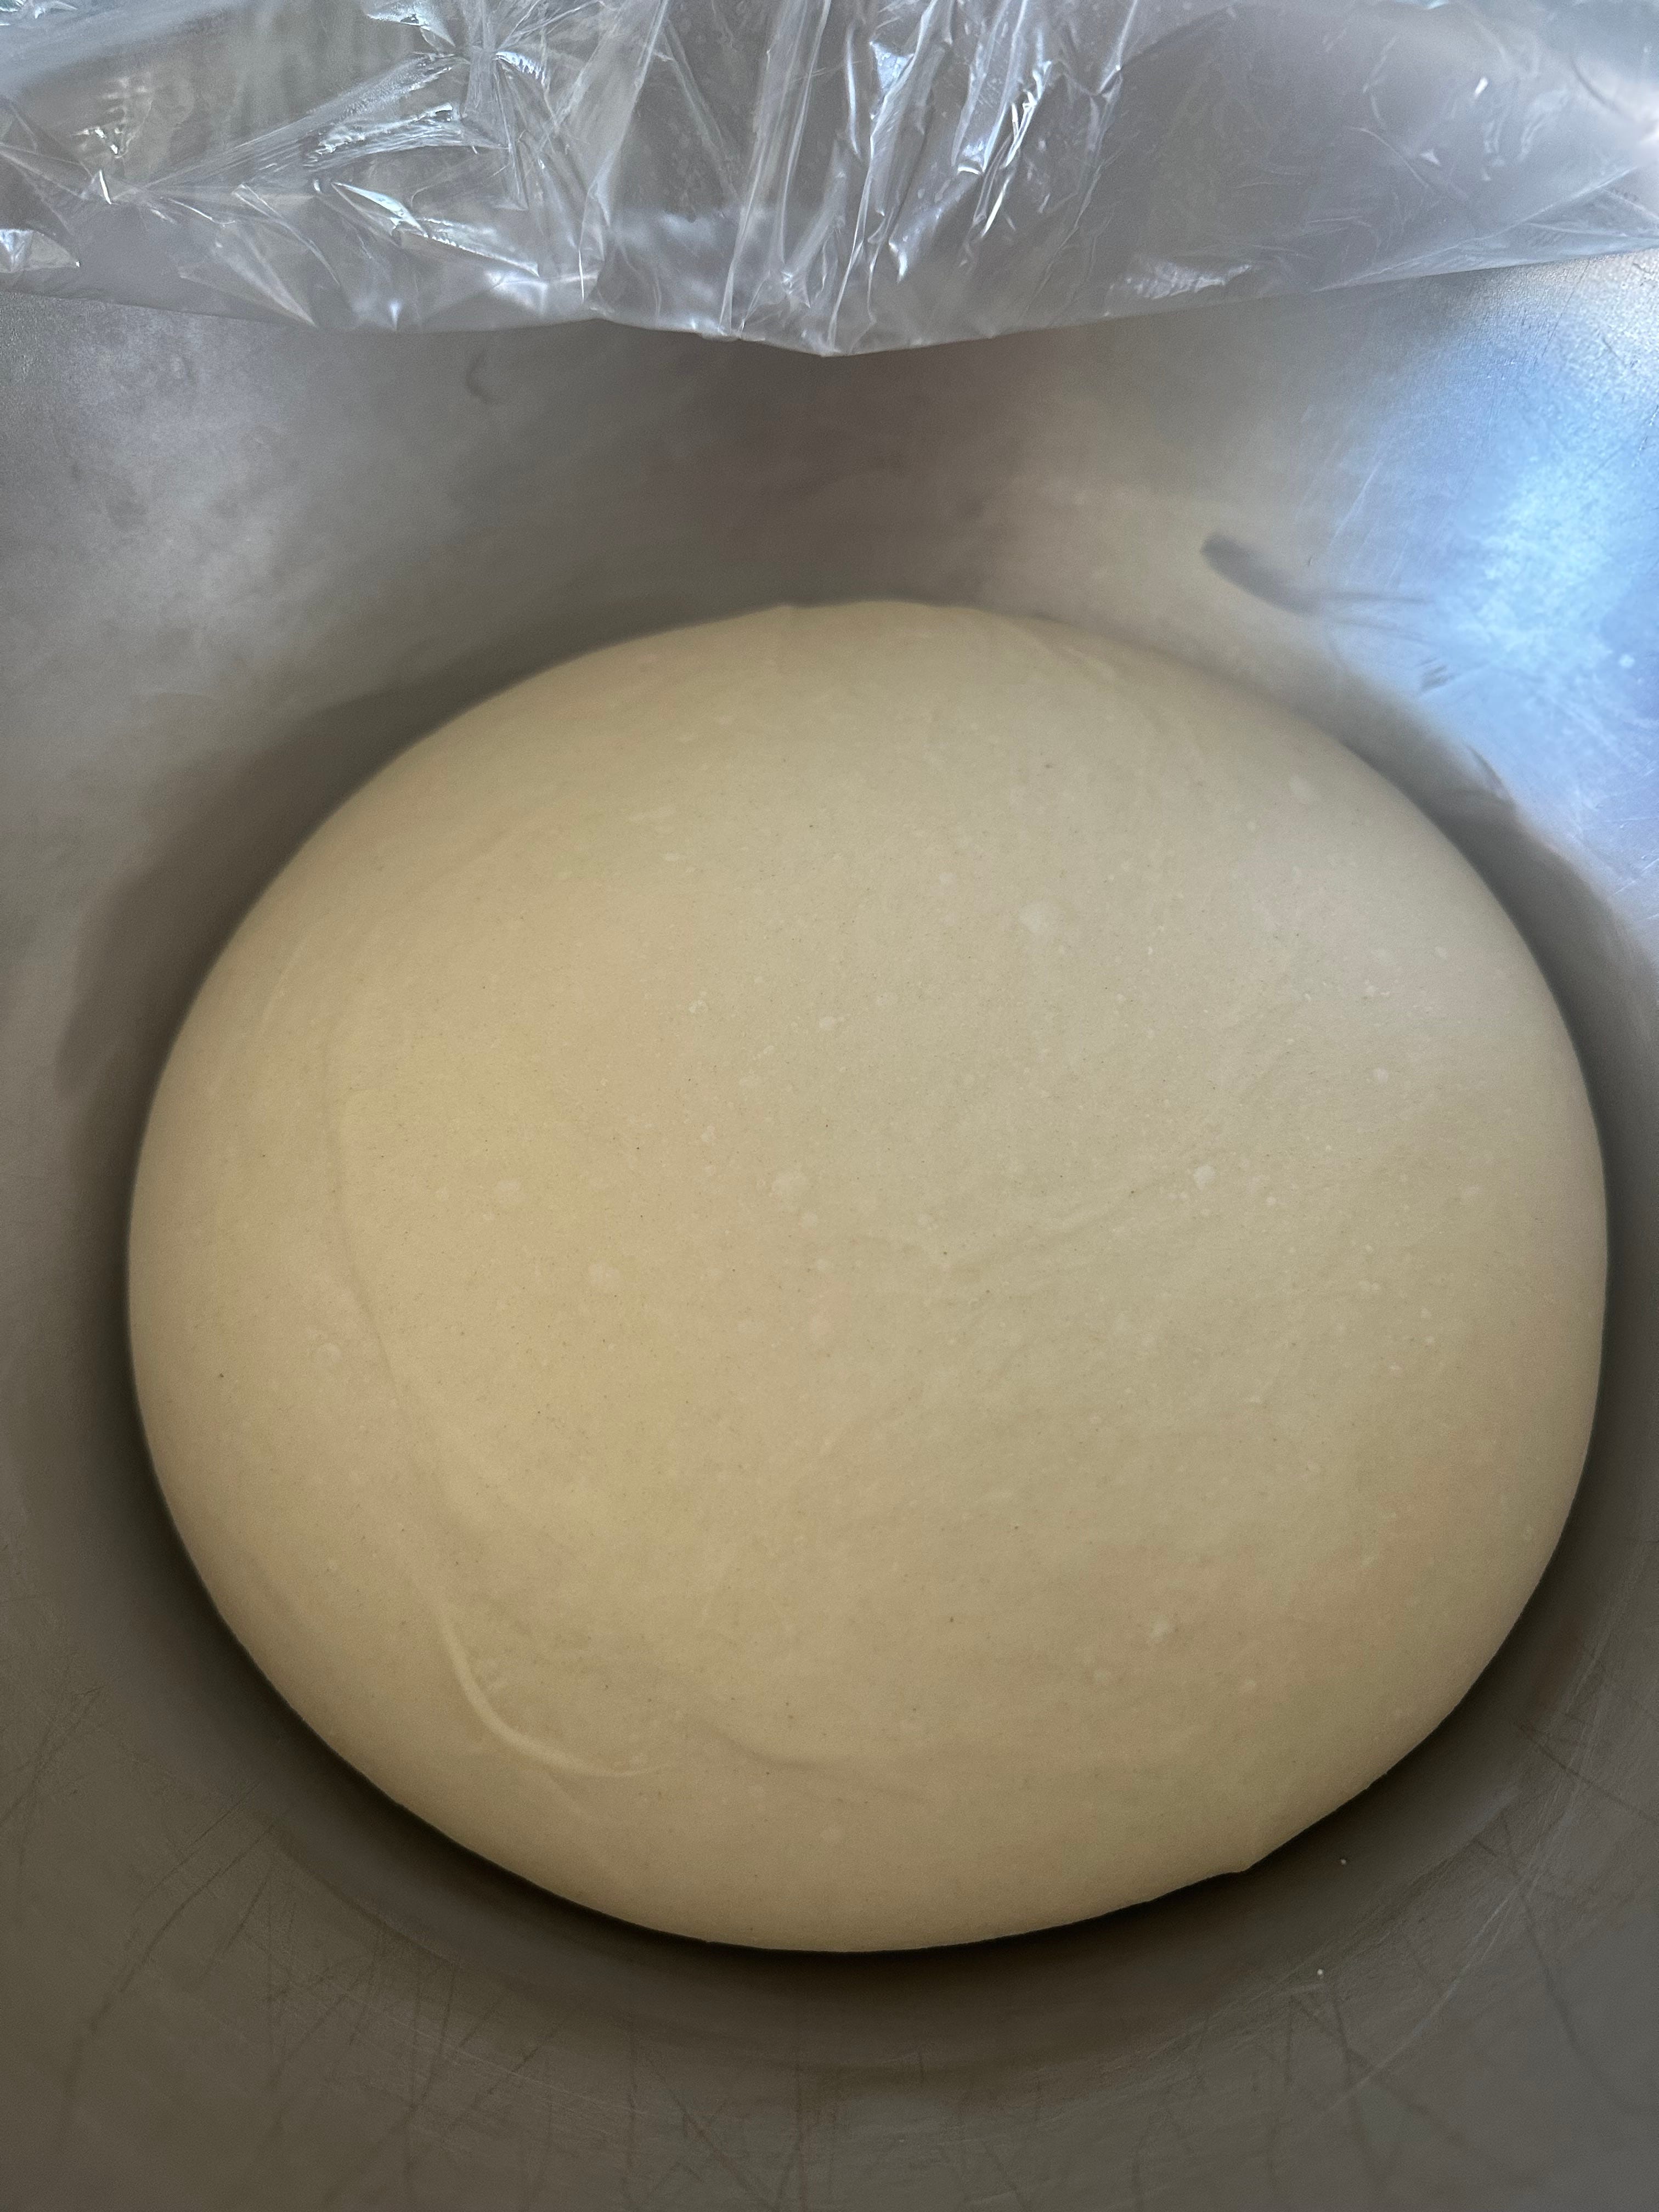
Once the dough is kneaded, remove the dough hook and fold the dough over a few times by hand and form into a ball. Then place it in a lightly oiled bowl (I like to use butter for this), and cover with plastic wrap. Let the dough proof for about 1 hour until it has at least doubled in size.
While the dough is proofing, prepare the bread loaf pan. Butter one 9 x 5 inch loaf pan
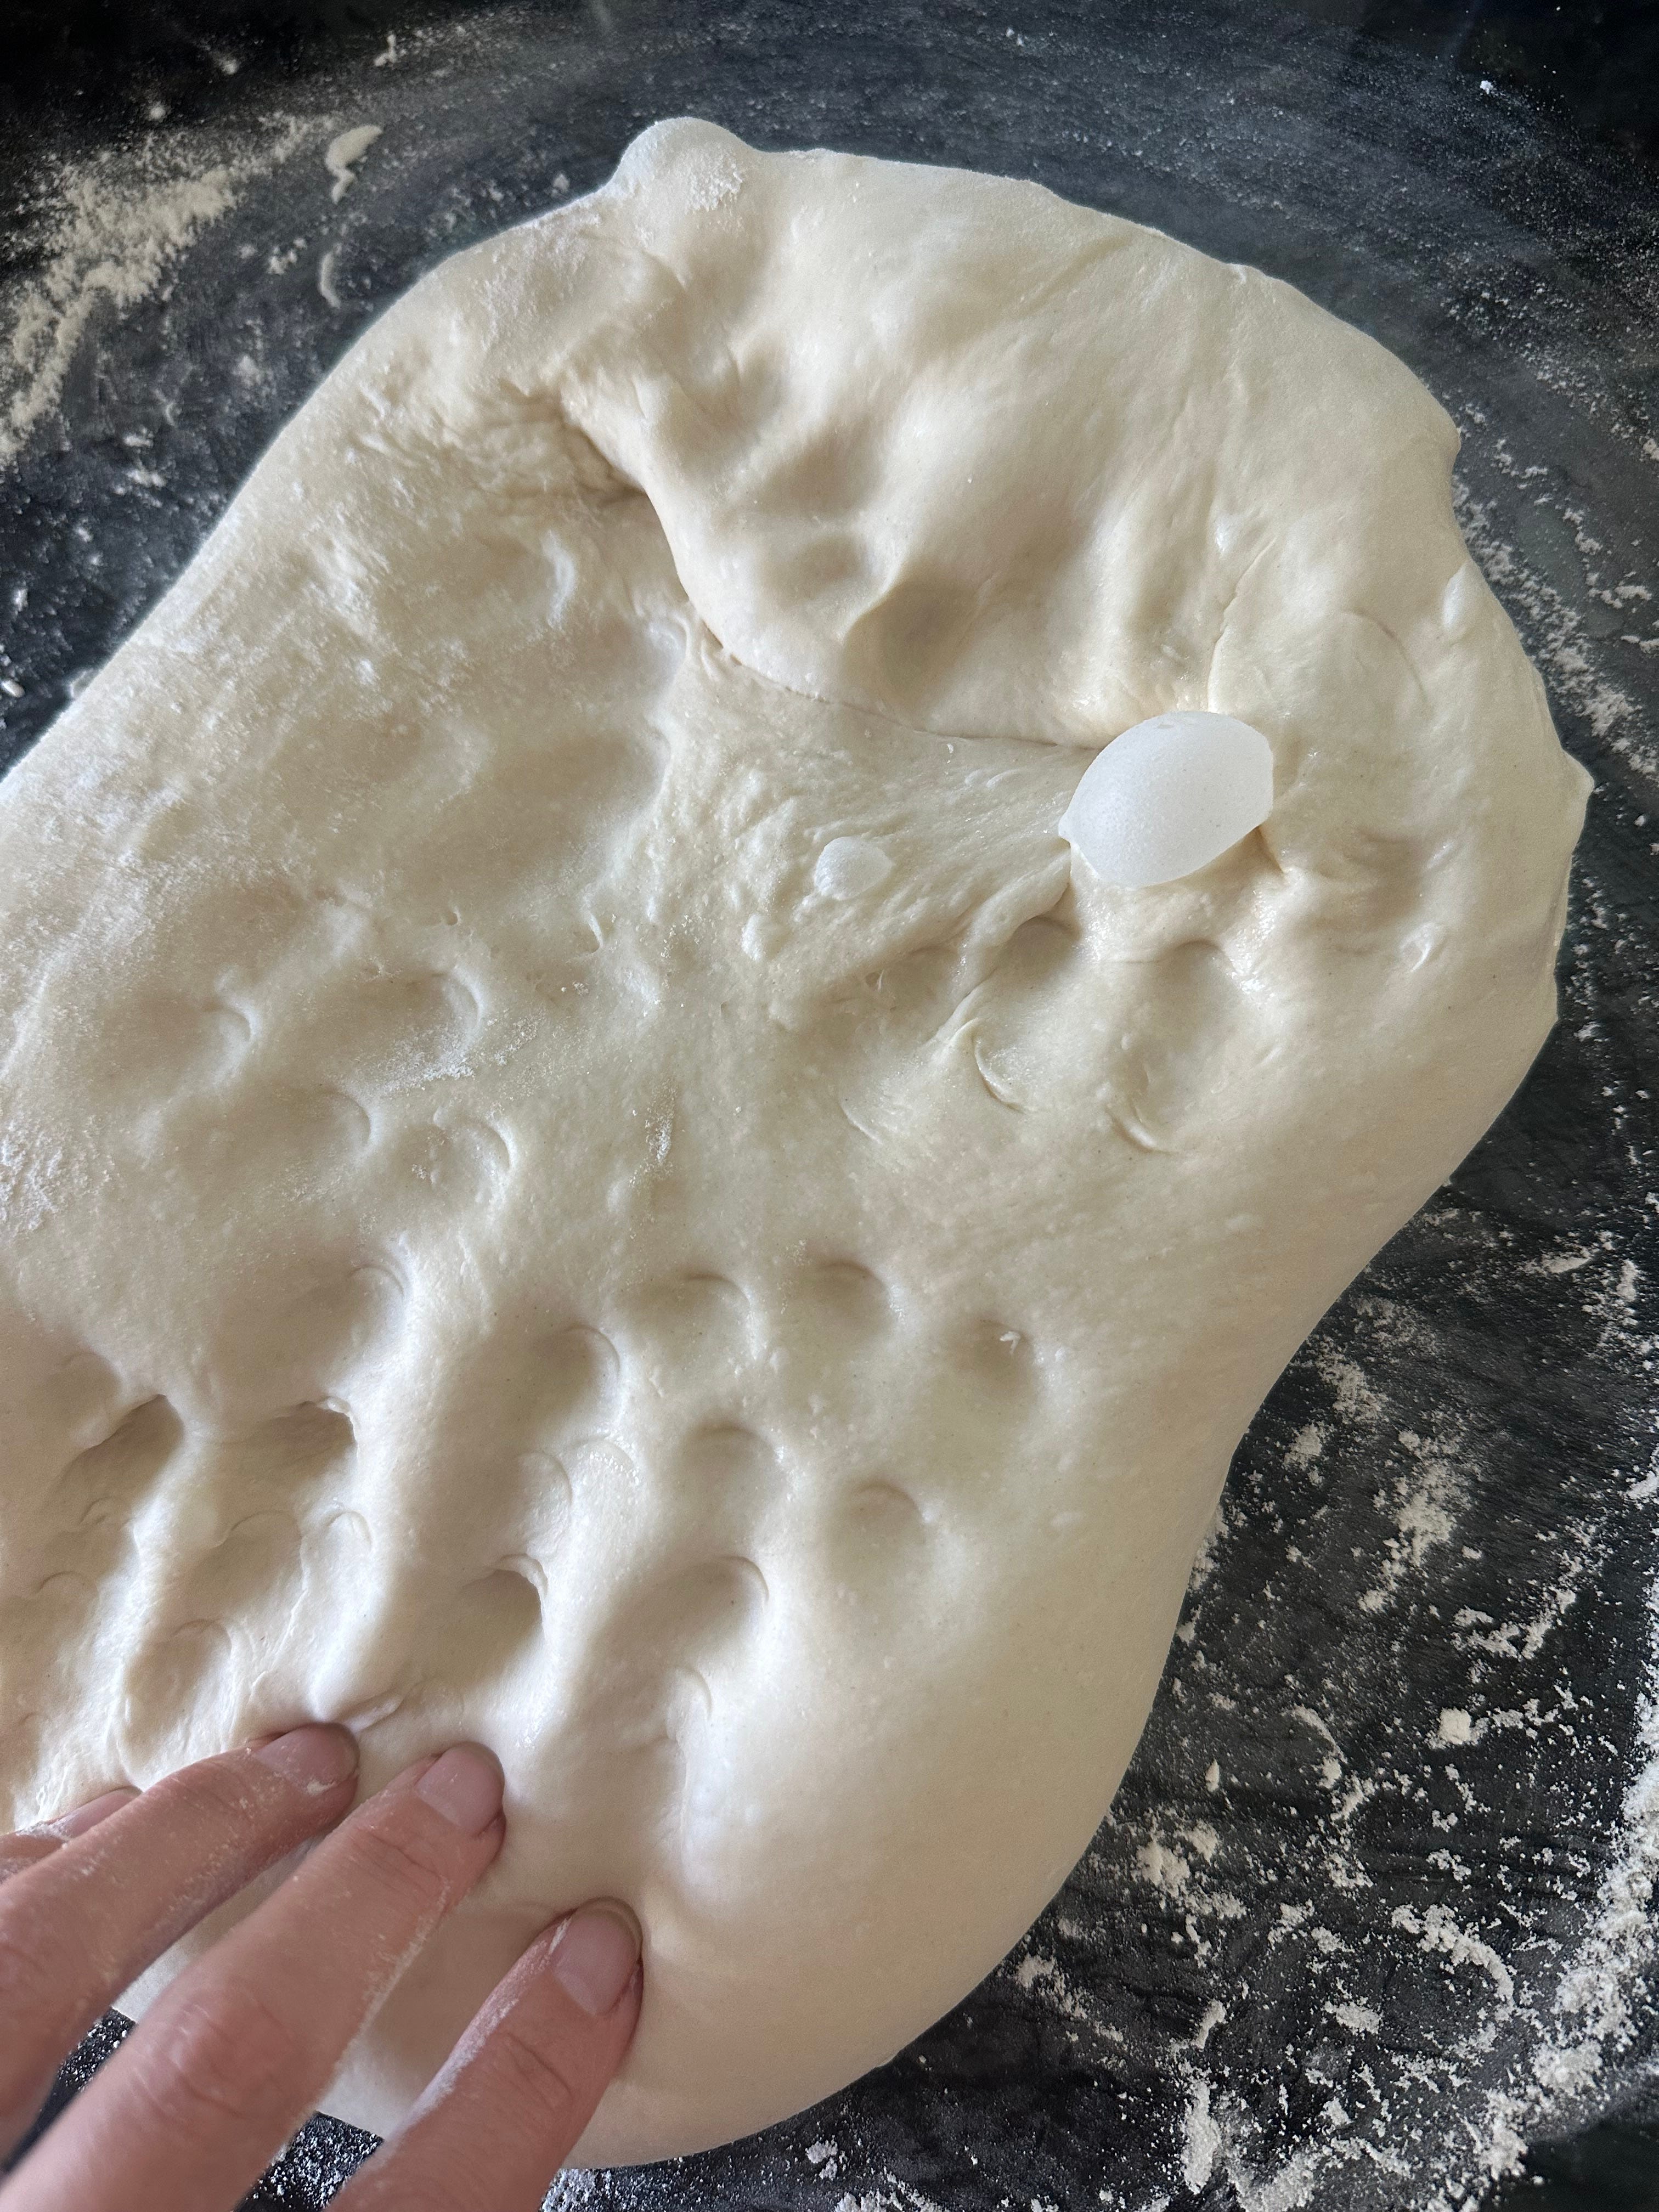
Turn the proofed dough out onto a lightly floured work surface. Slightly flatten the dough with your hands to remove some of the air bubbles that have formed.
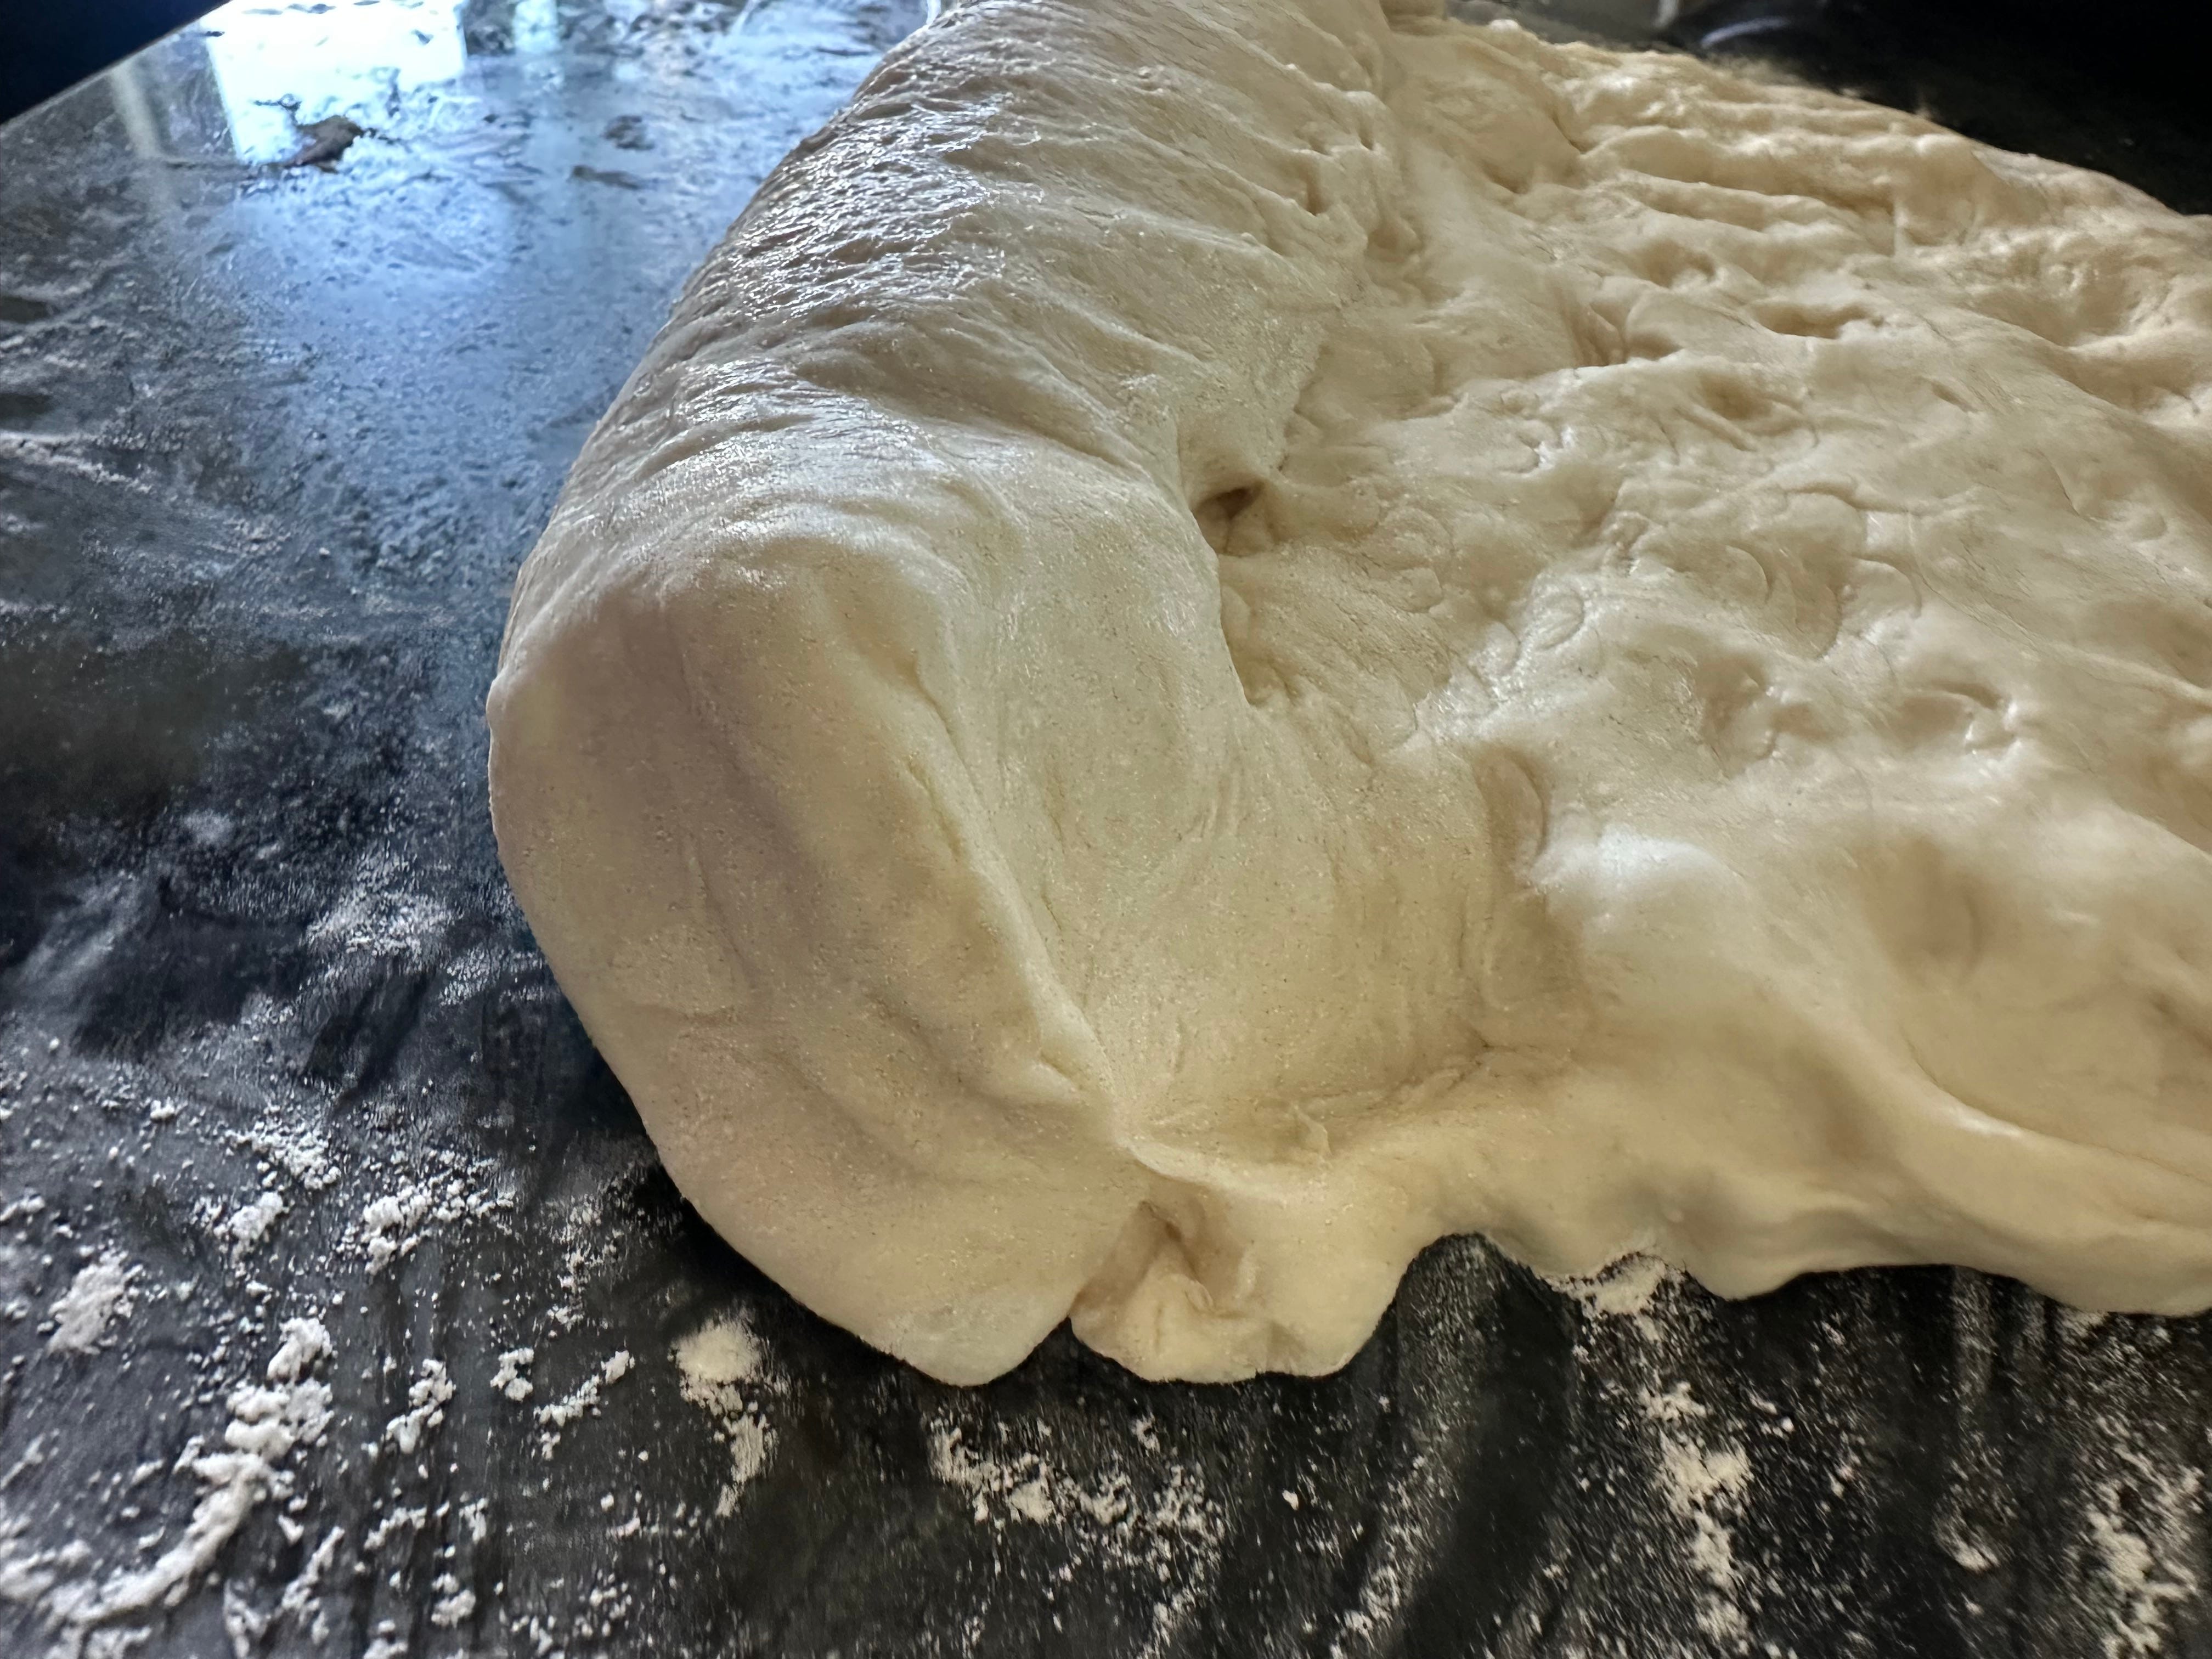
Gently press the dough into an evenly thick rectangle (this does not need to be perfect!). The short side of this rectangle should be roughly be a little smaller than your bread loaf pan.
Tightly roll up the short side, along the length of the dough rectangle. Make sure to pinch / press the edge of the dough as you go, while rolling it up.
Once the dough is rolled up, pinch the seams to seal it, and tuck in the two sides and pinch these seams as well. Make sure all the seams are on one side, seam side down in the pan and the other side is smooth and seam-free.
Make sure it’s evenly pressed into the bottom of the pan. Loosely cover the loaf pan with a tea towel and let it proof again for about 45 minutes – 1 hour (start checking at the 30 min mark as everyones house temp varies). The dough should double in size inside the loaf pan.
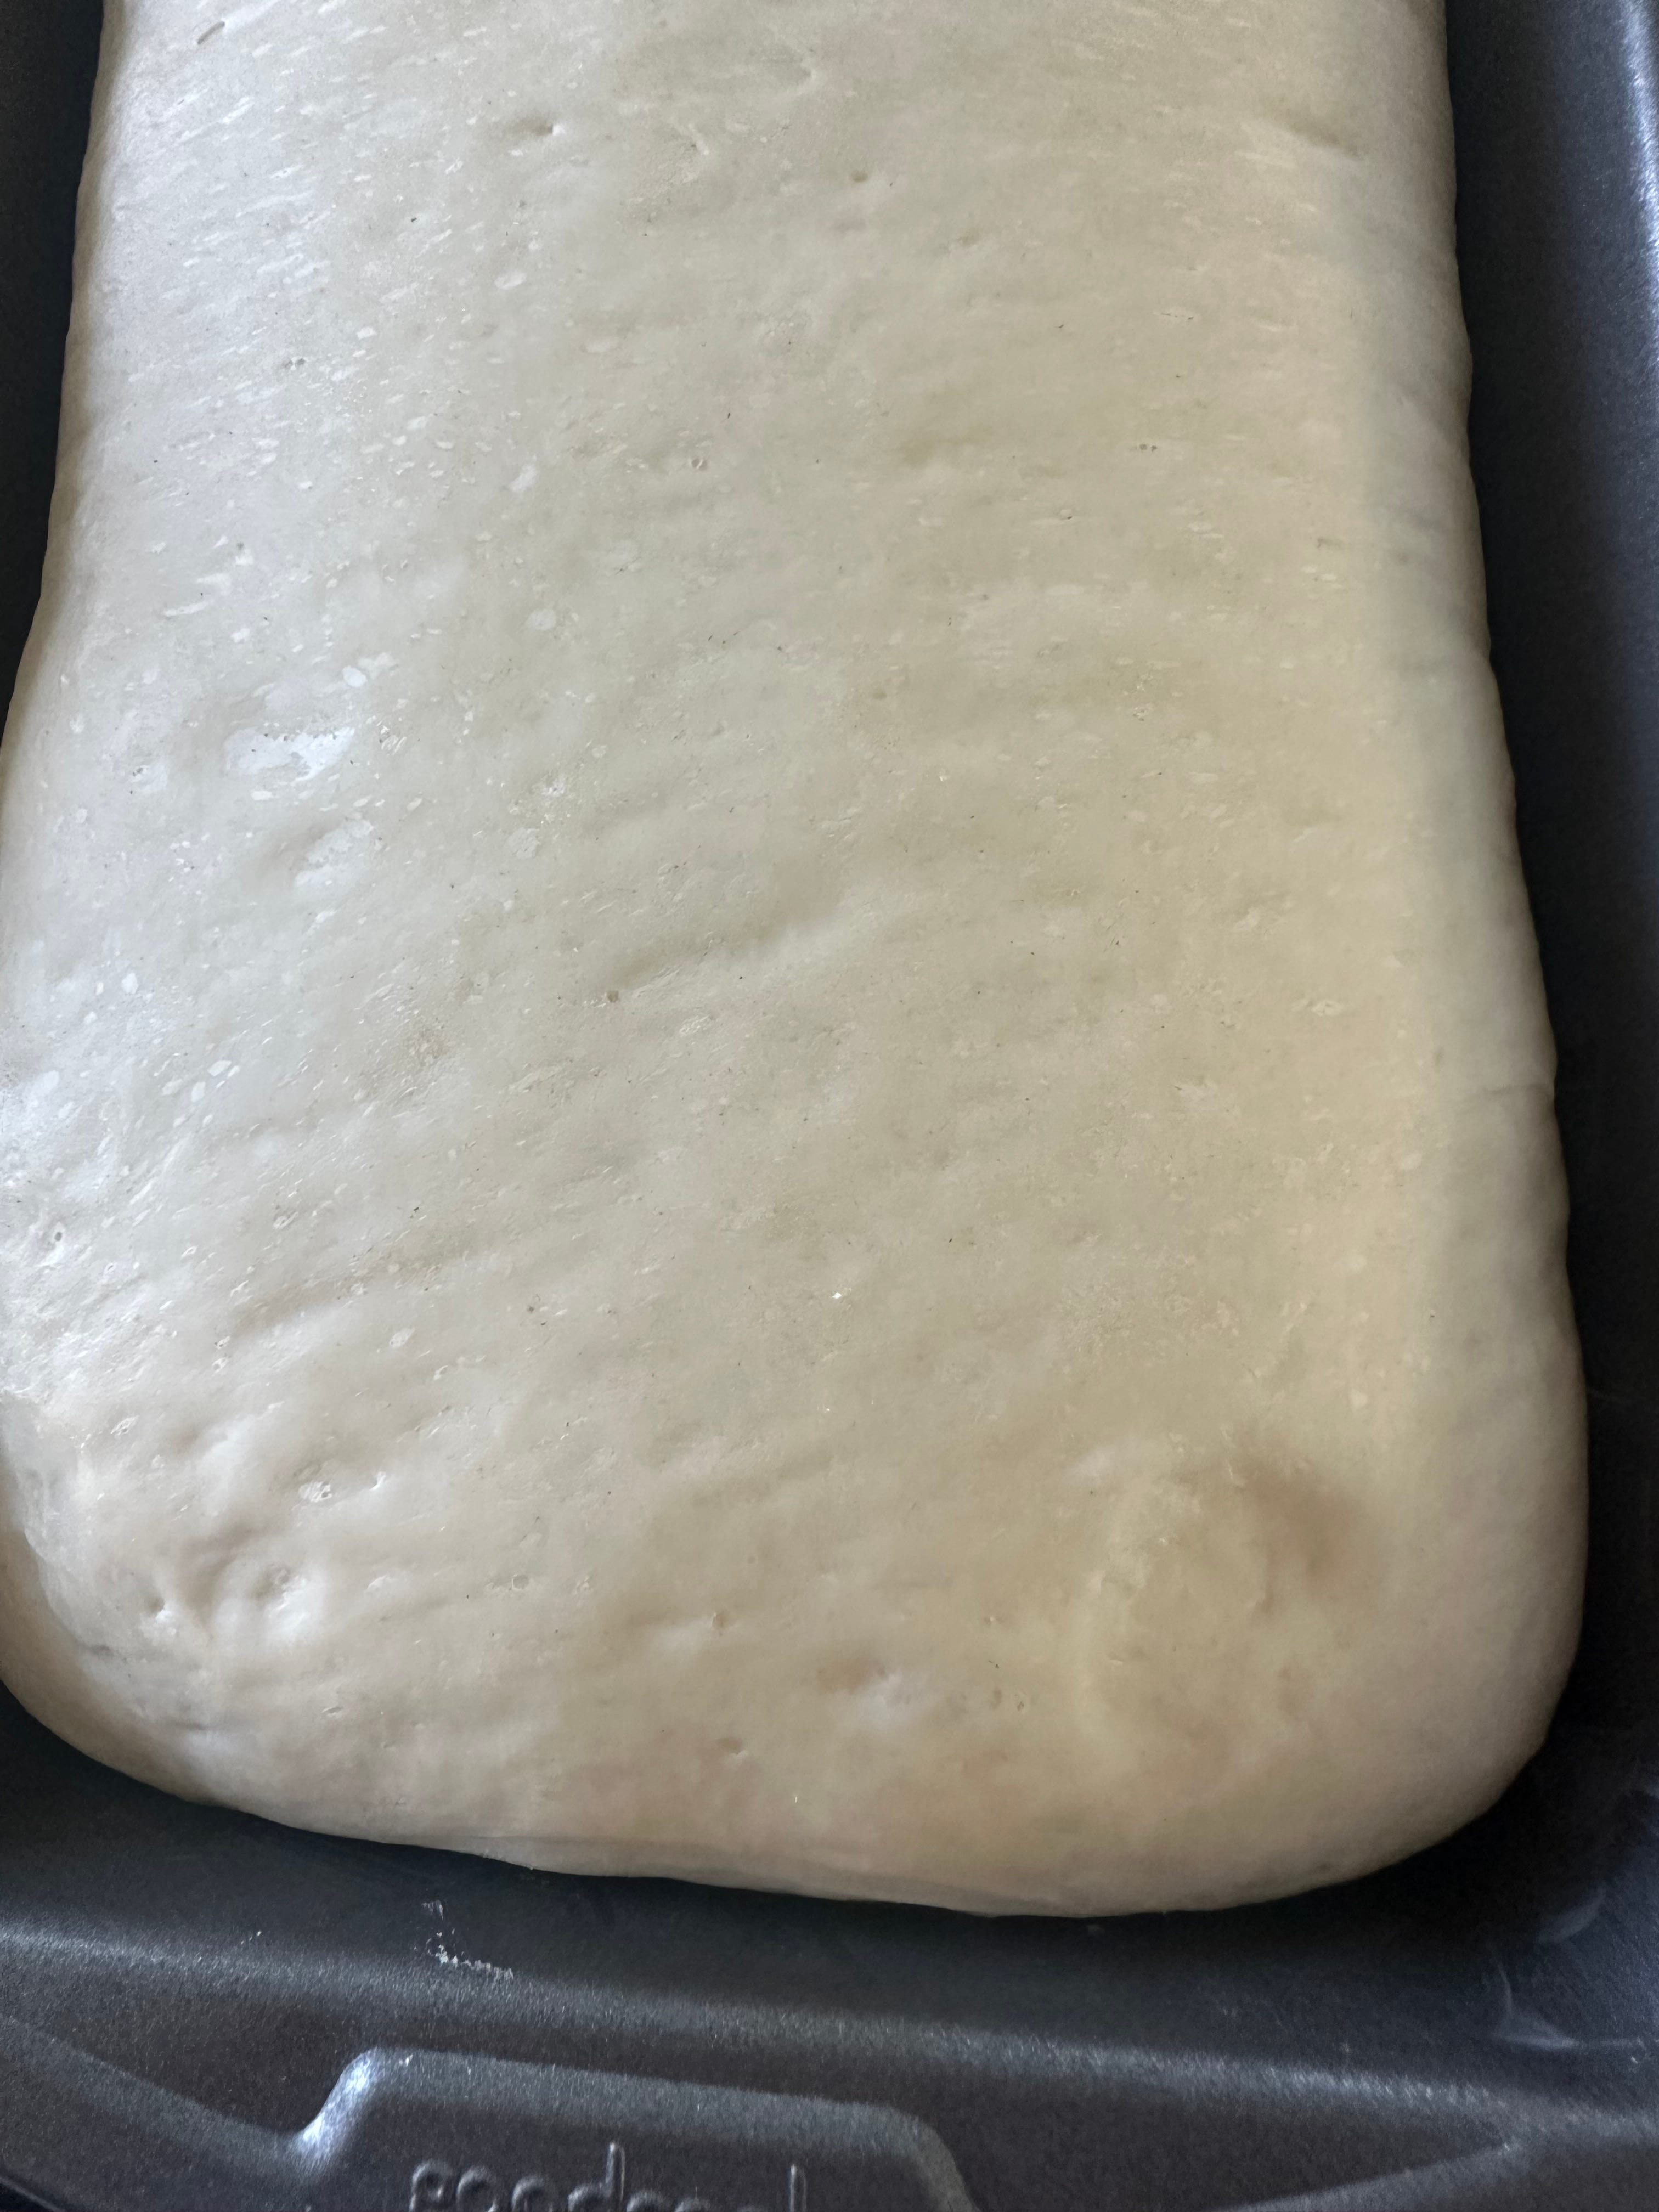
Gently press the top of the dough with your finger to leave an indentation. If proofed properly, this indentation should remain, or bounce back slightly. If it bounces back almost completely, then it is under-proofed.
Preheat the oven to 375°F.
Place the loaf pan in the center of the middle rack. I am a HUGE fan of taking the temp of my bread. Make sure you have an accurate thermometer. The dough is done when the internal temp is between 190 and 195 degrees. Every oven is different, start checking on your bread at the 25 minute mark. (Tip: if taking the temp of your bread, do it on the side so the hole is discreet)
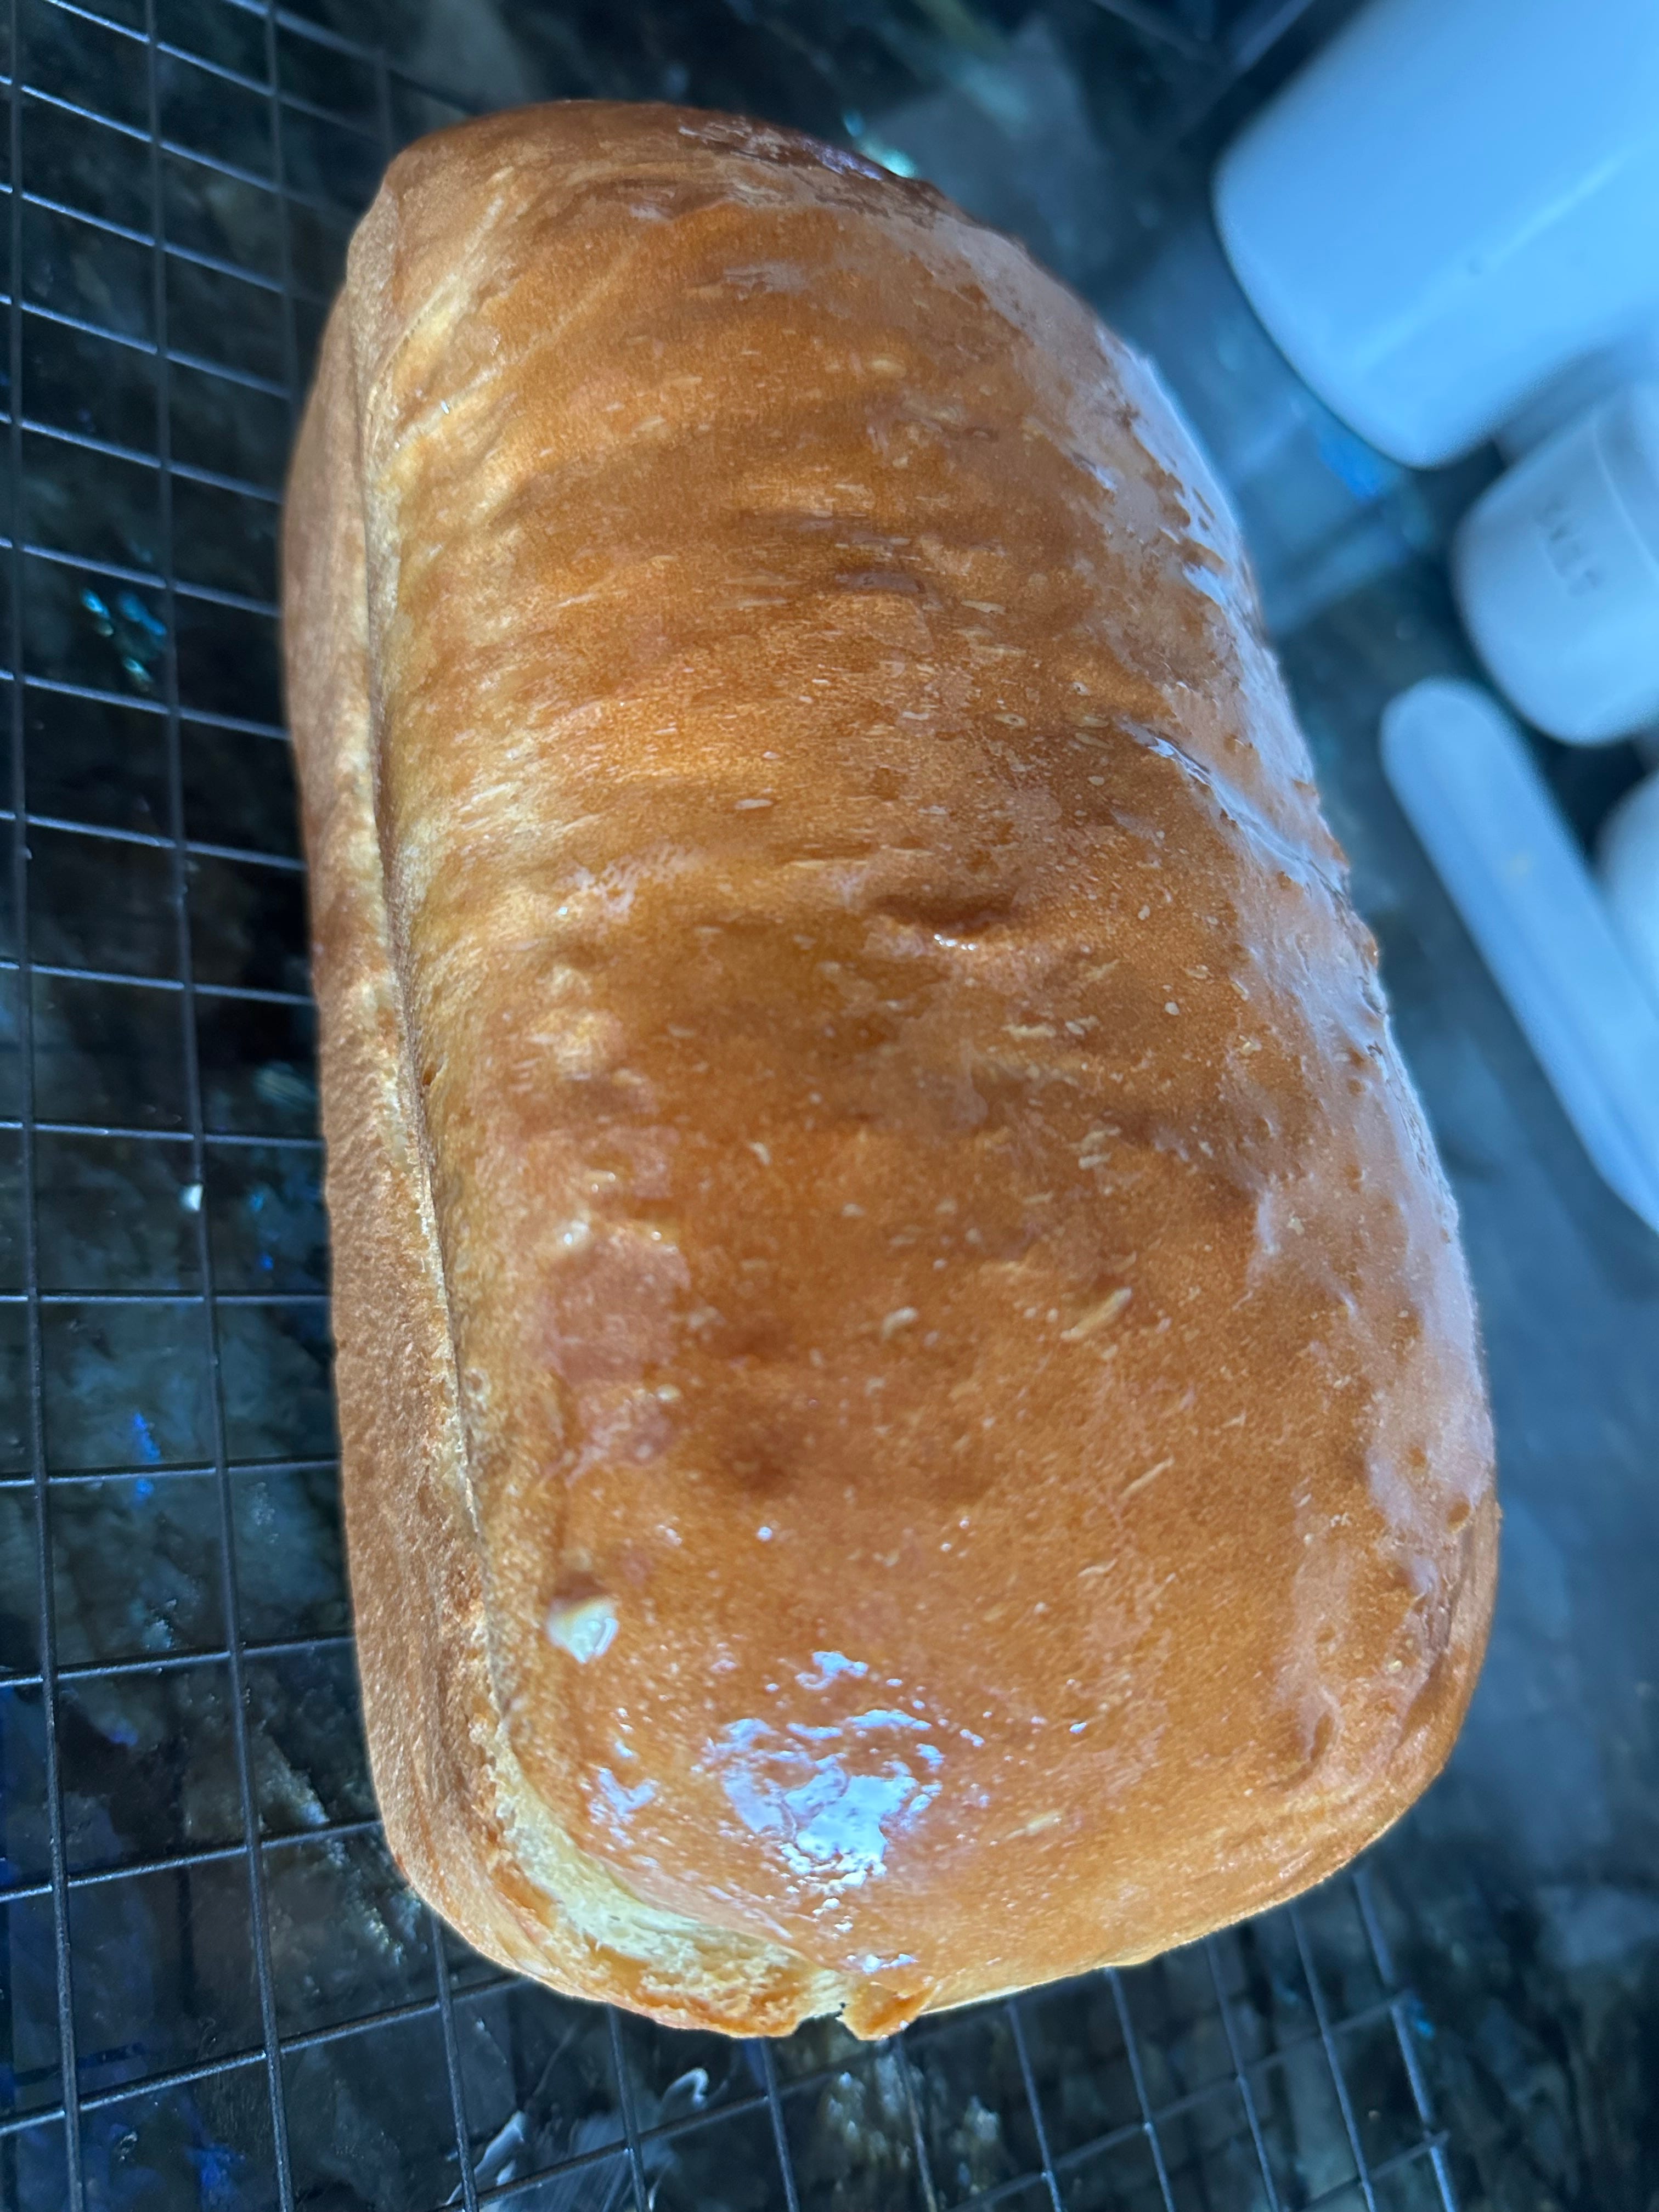
Remove bread from the oven and allow to cool for 10 min. Transfer onto a wire rack. I like to add butter to the top of loaf while it is still warm! (Tip: to avoid butter from getting all over your counter, you can place the wire rack on top of a sheet tray)
This is how your yeast should look when activated!
Start adding all of the remaining ingredients to your yeast mixture.
Mix the dough with a whisk to make a shaggy dough.
Place the dough into an oiled or buttered bowl and loosely cover with plastic wrap.
Once it doubles in size, lay it out onto a floured work surface and gently press to release any air bubbles that have formed.
Start rolling and pinching the dough.
Once formed into somewhat of a rectangular shape, place the dough (seam side down) into a buttered 9x5 inch loaf pan.

Gently press the dough evenly into the pan.
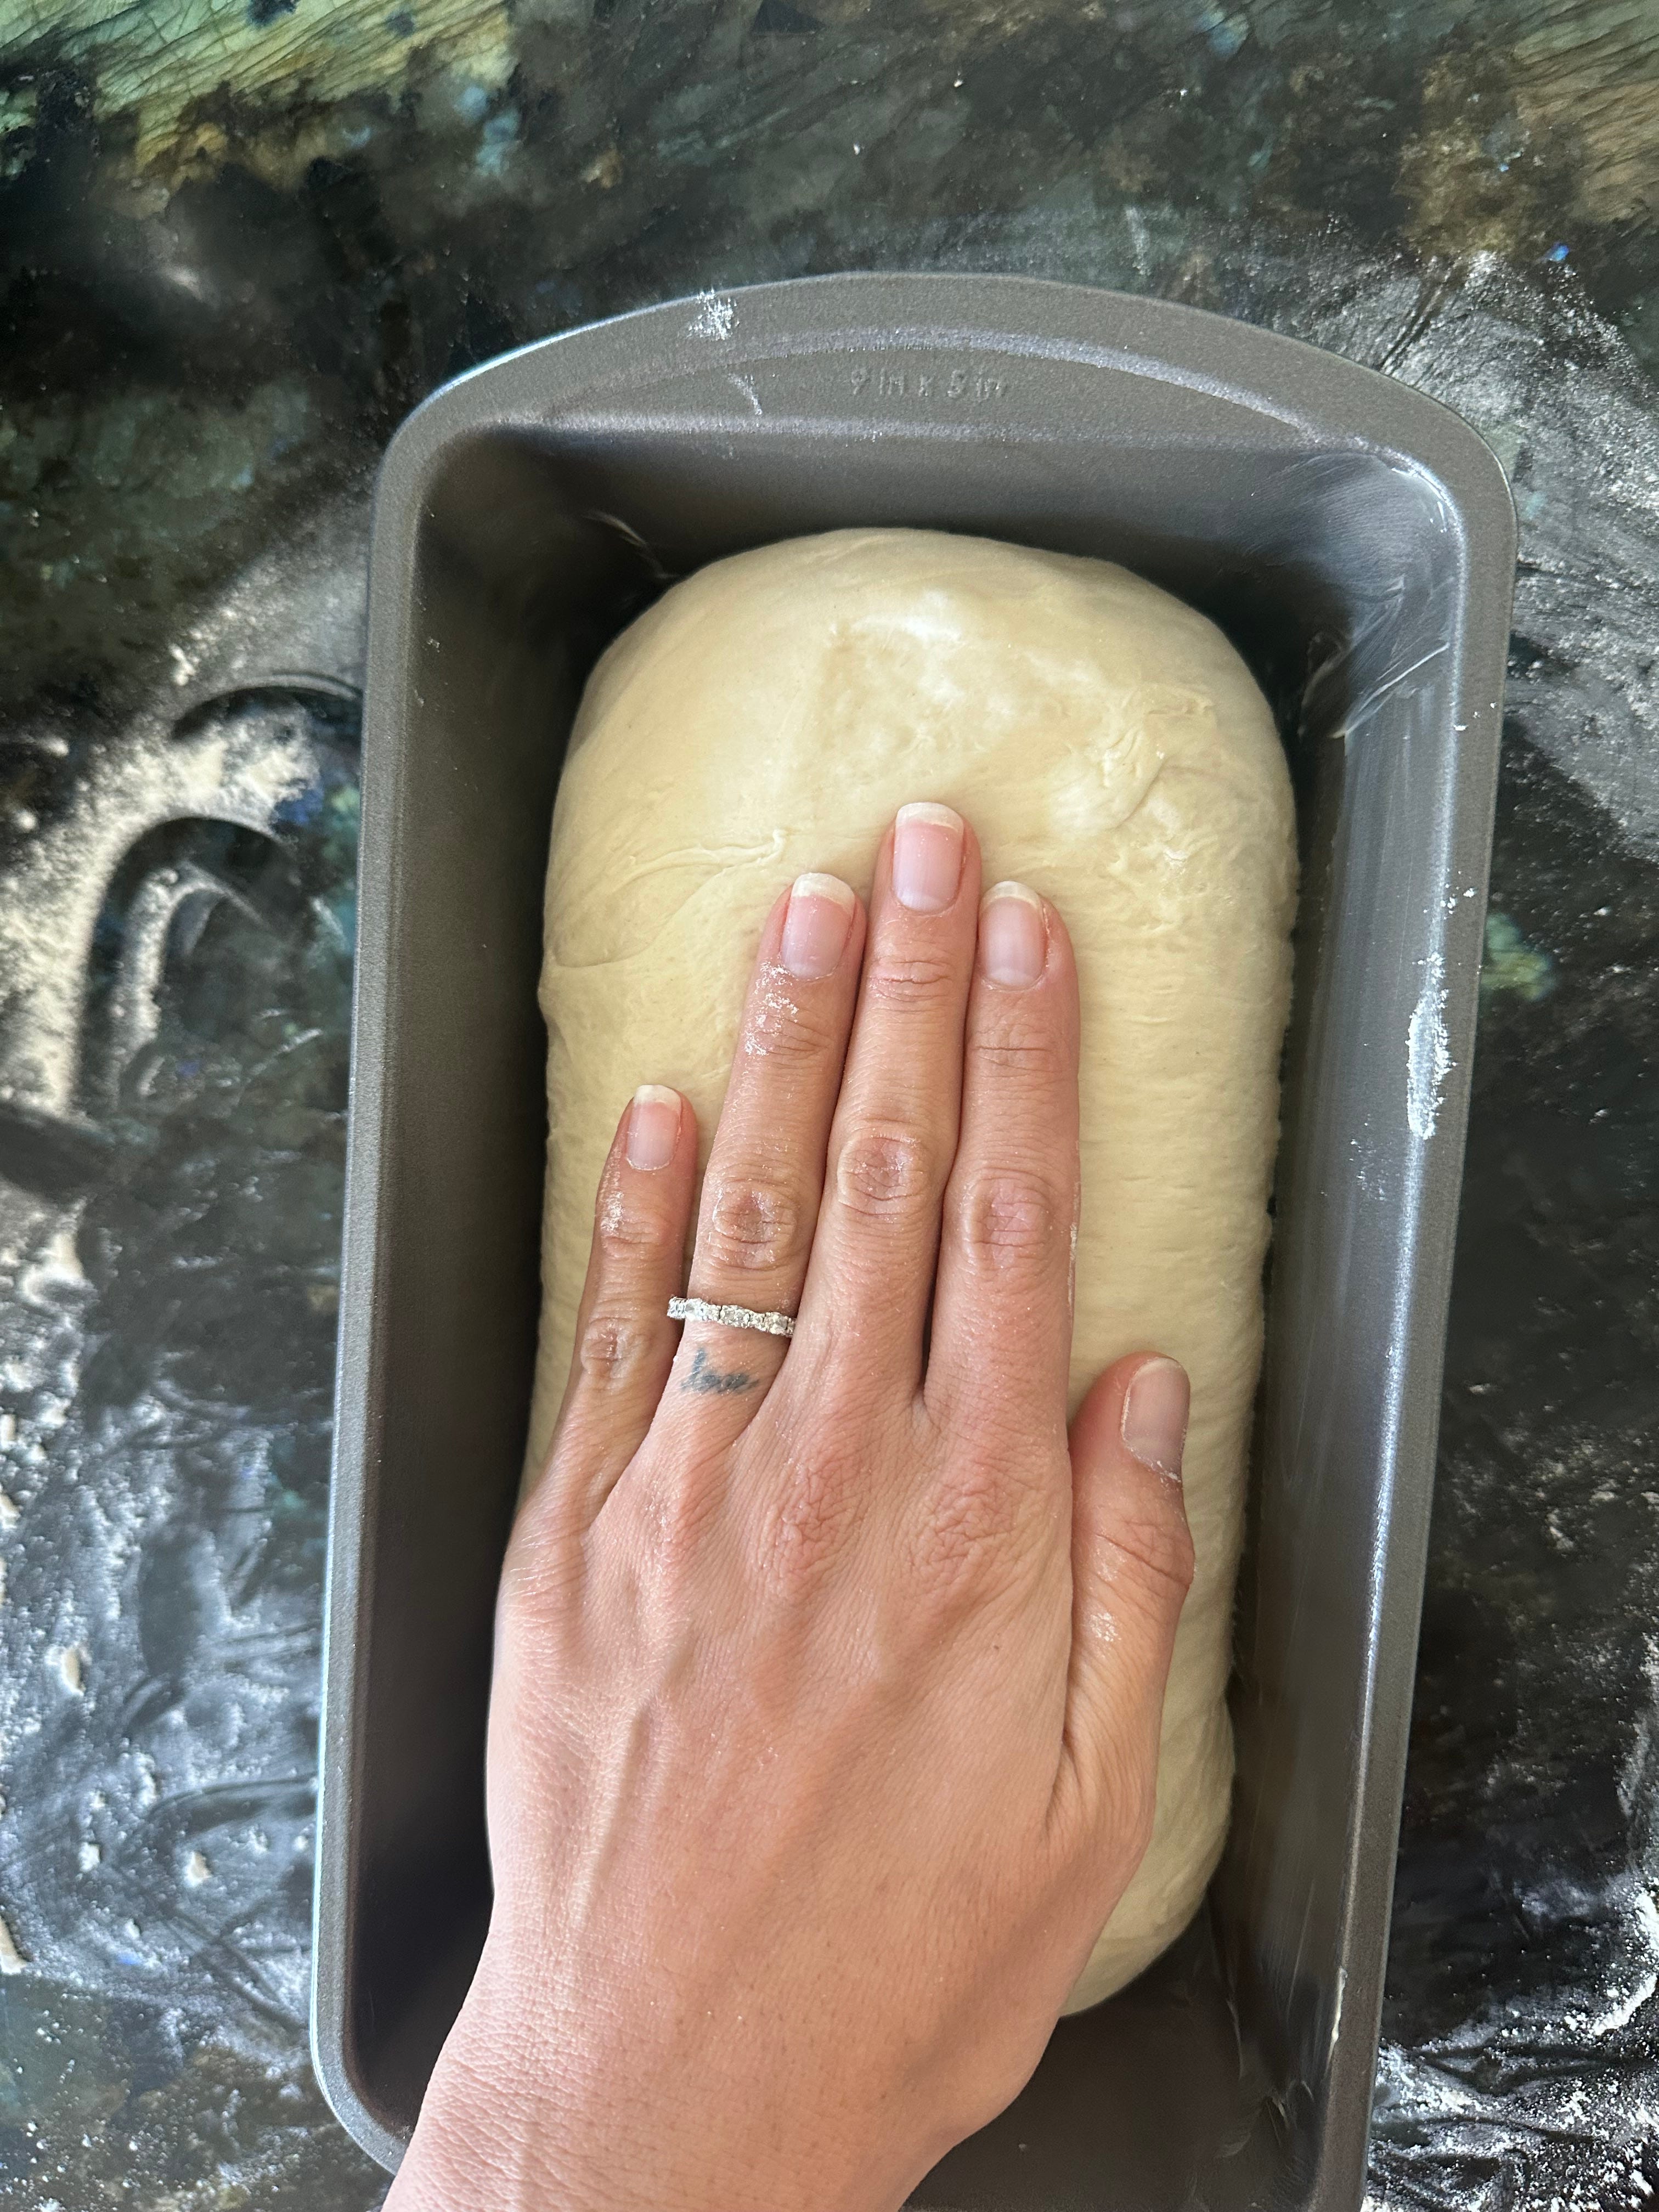
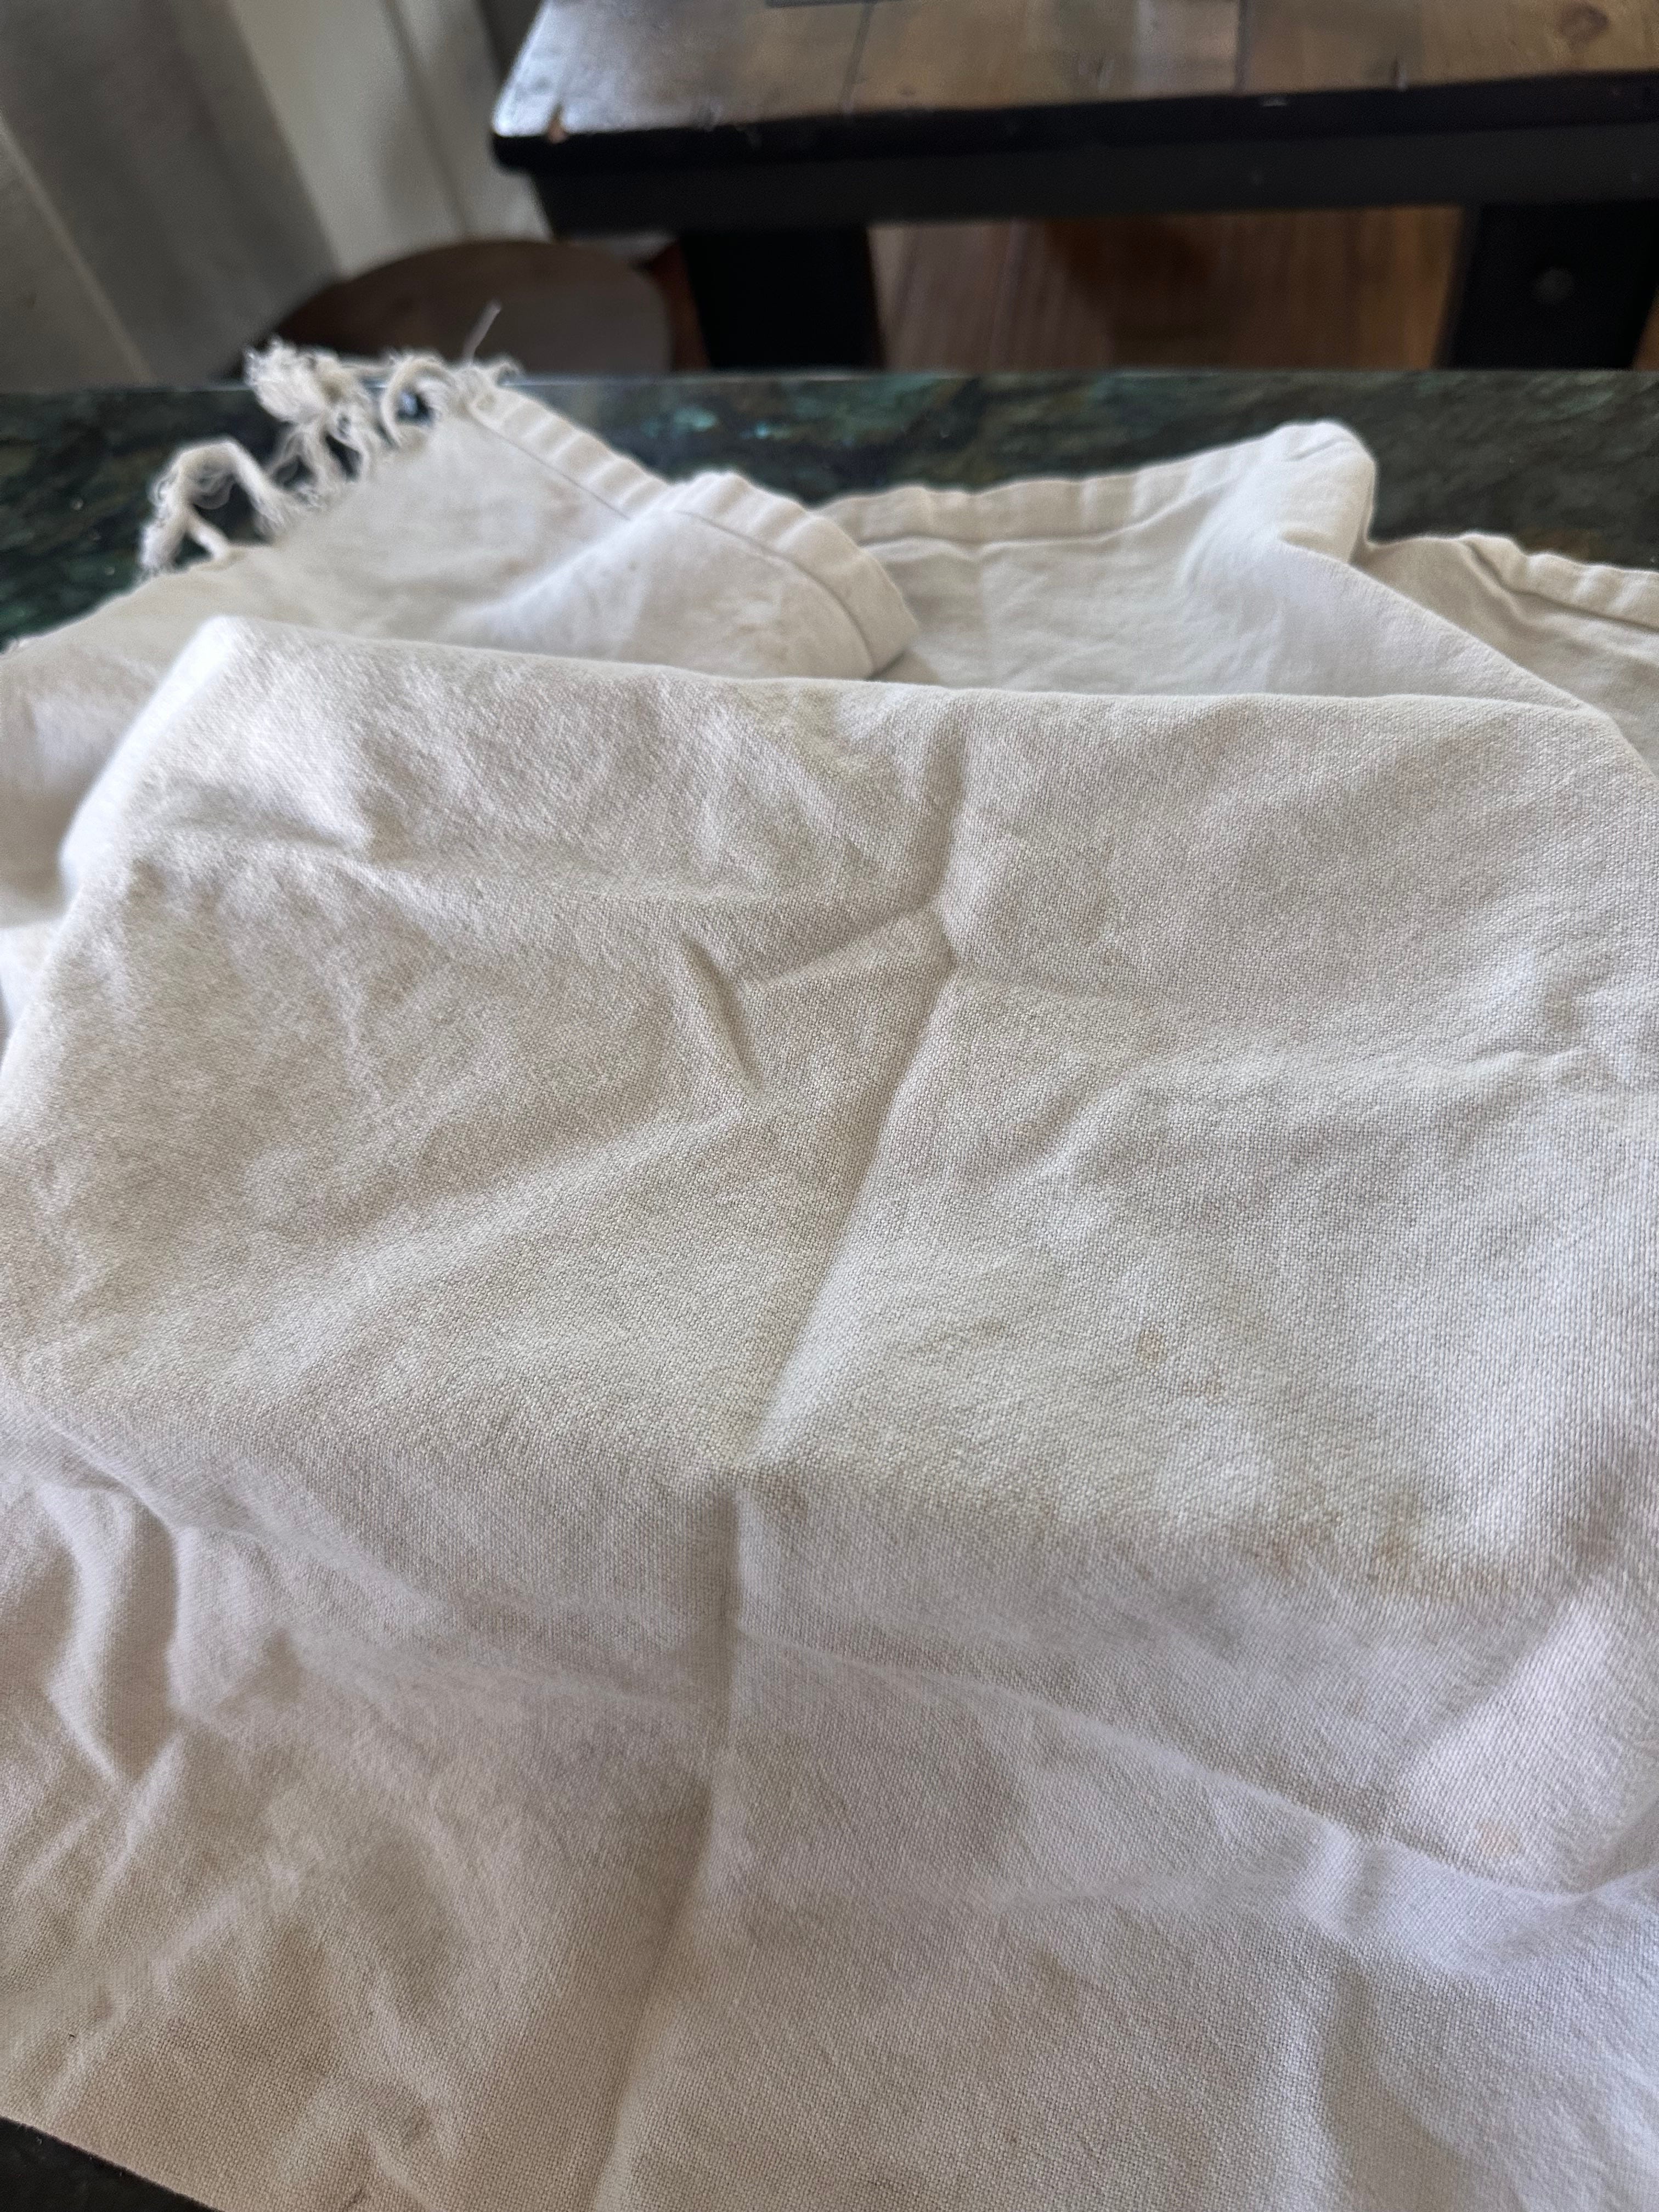
Cover with a tea towel. You can also cover with plastic wrap (loosely) however, the dough can stick to it and cause a big mess!
After about 45 min- hour check your dough. This is the indent you are going for when it is proofed. (bottom right)
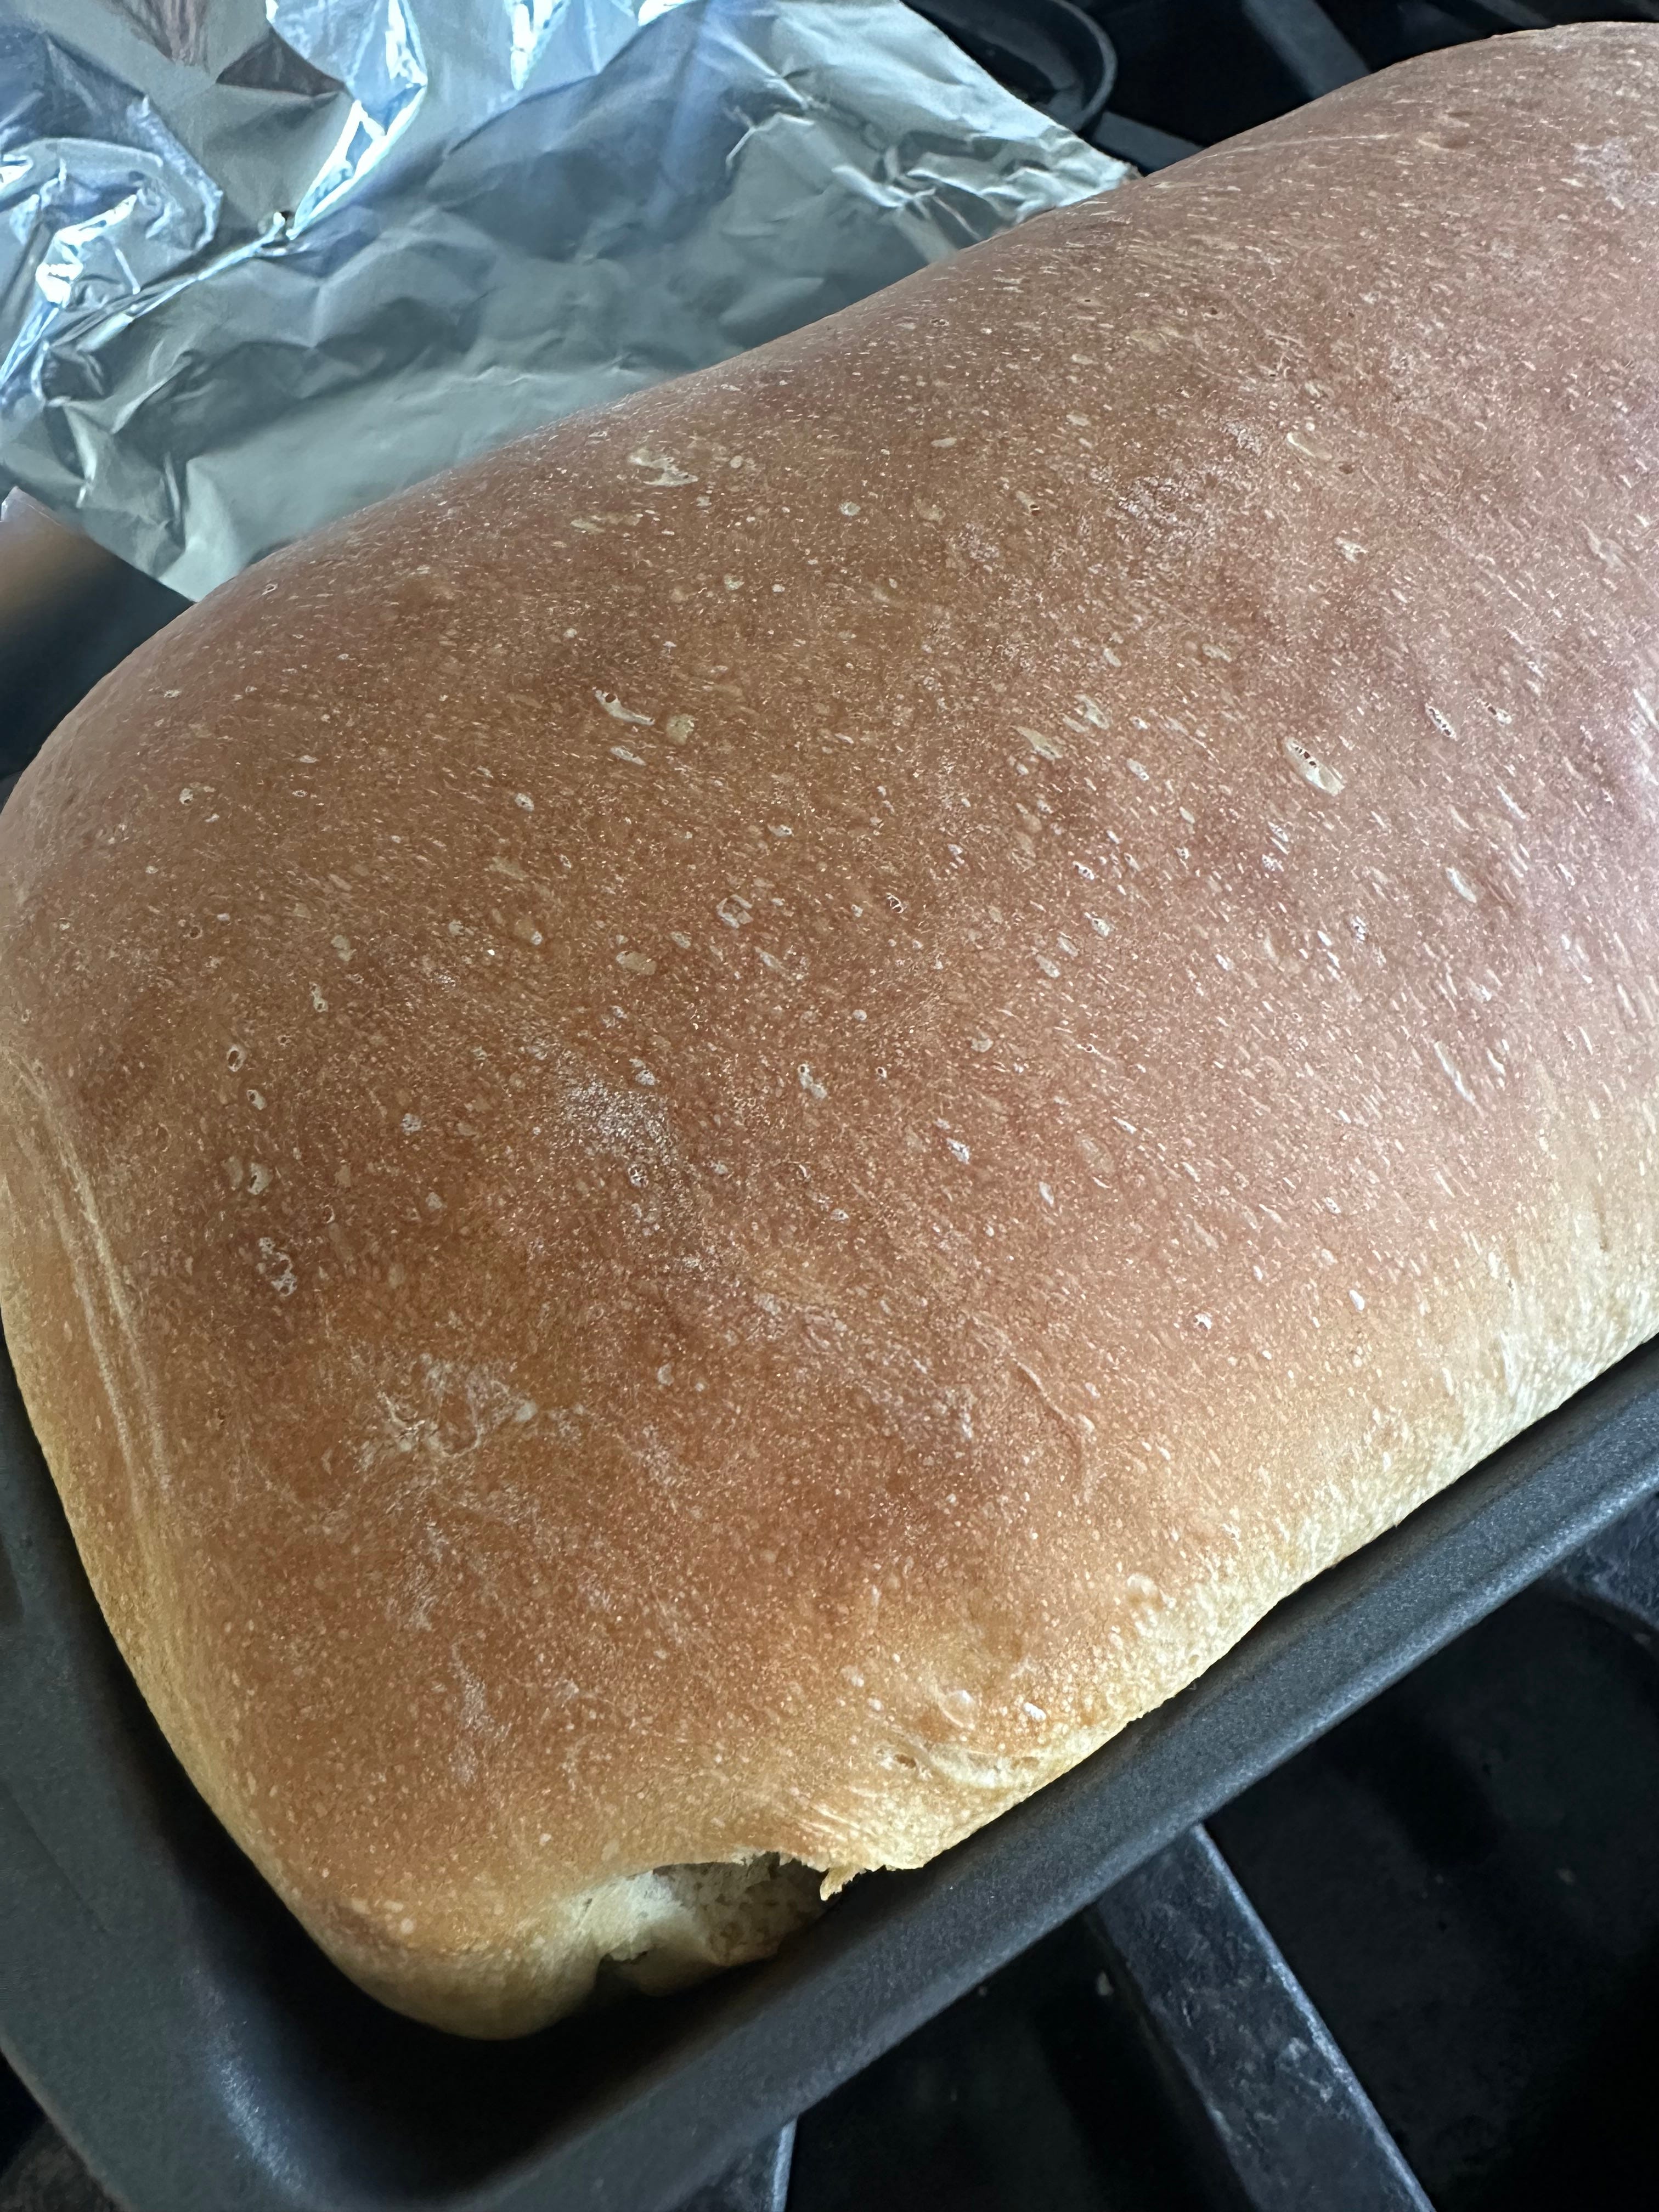
Now place it in the preheated 375 degreen oven. If your dough starts to brown on top more than you would like and before it is done, cover it with aluminum foil to prevent it from burning and continue baking.
Transfer onto a wire wrack. Let it cool for about 10 min. I love to add butter over the top!
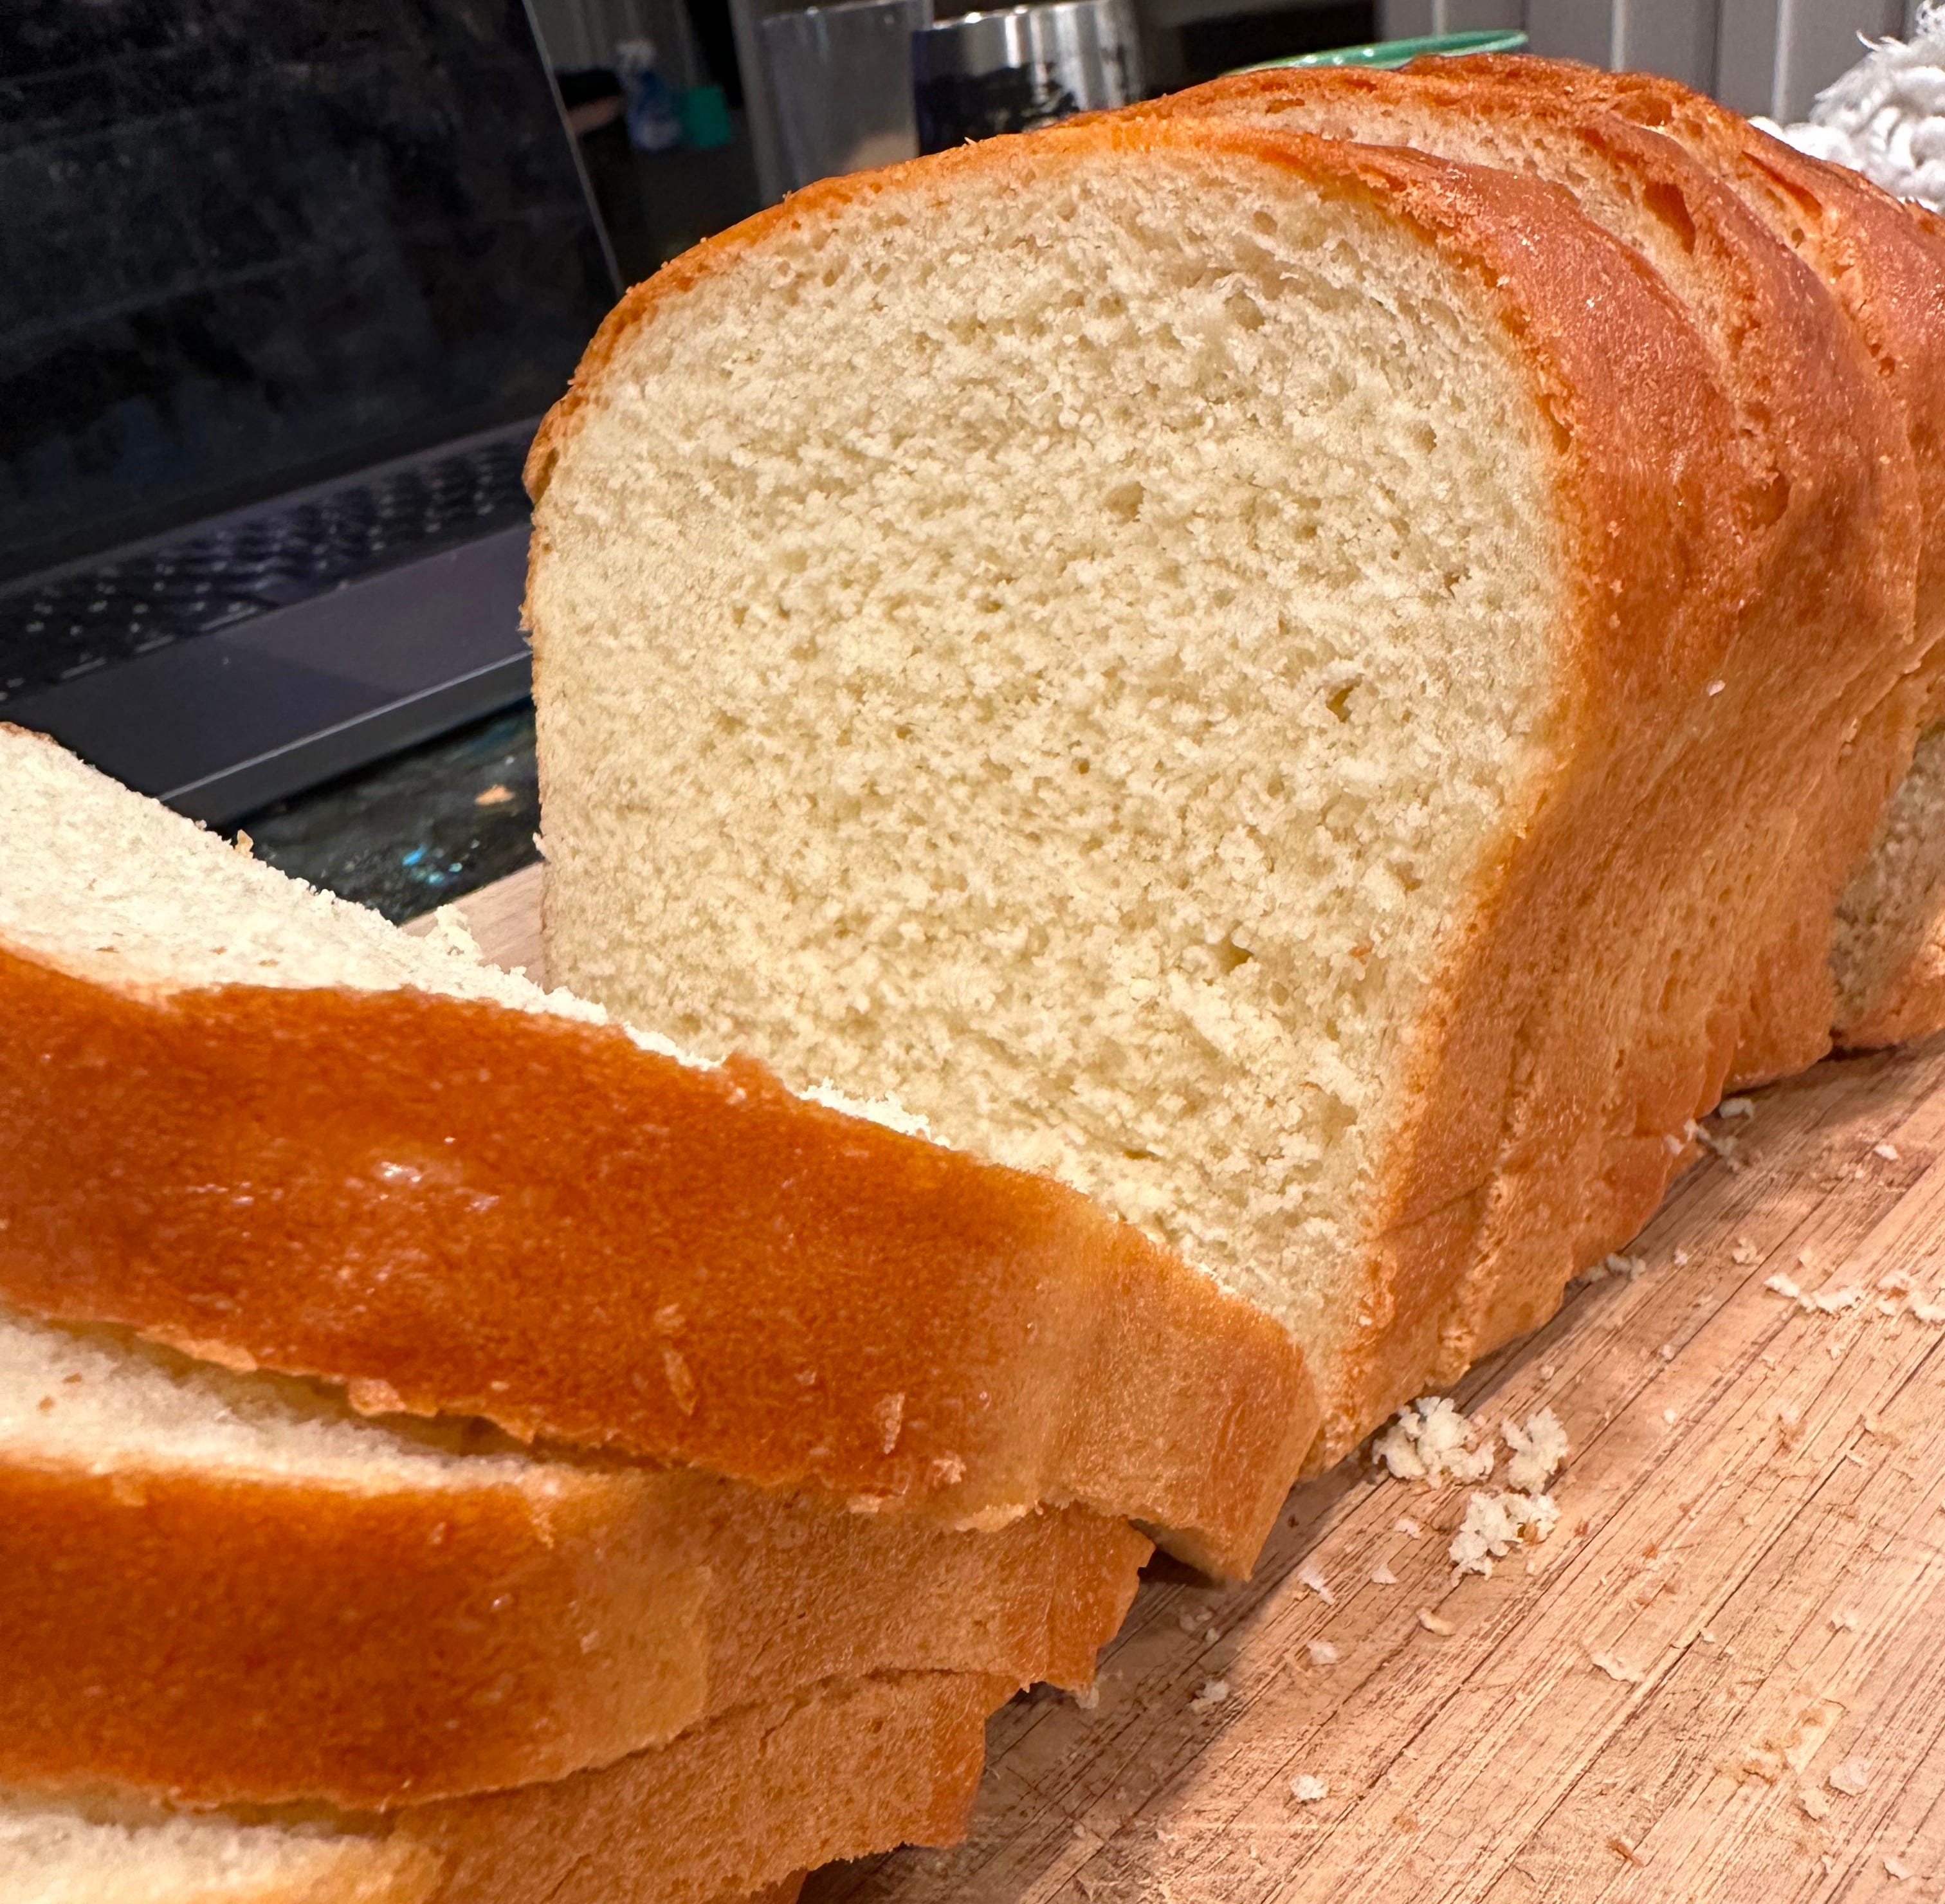
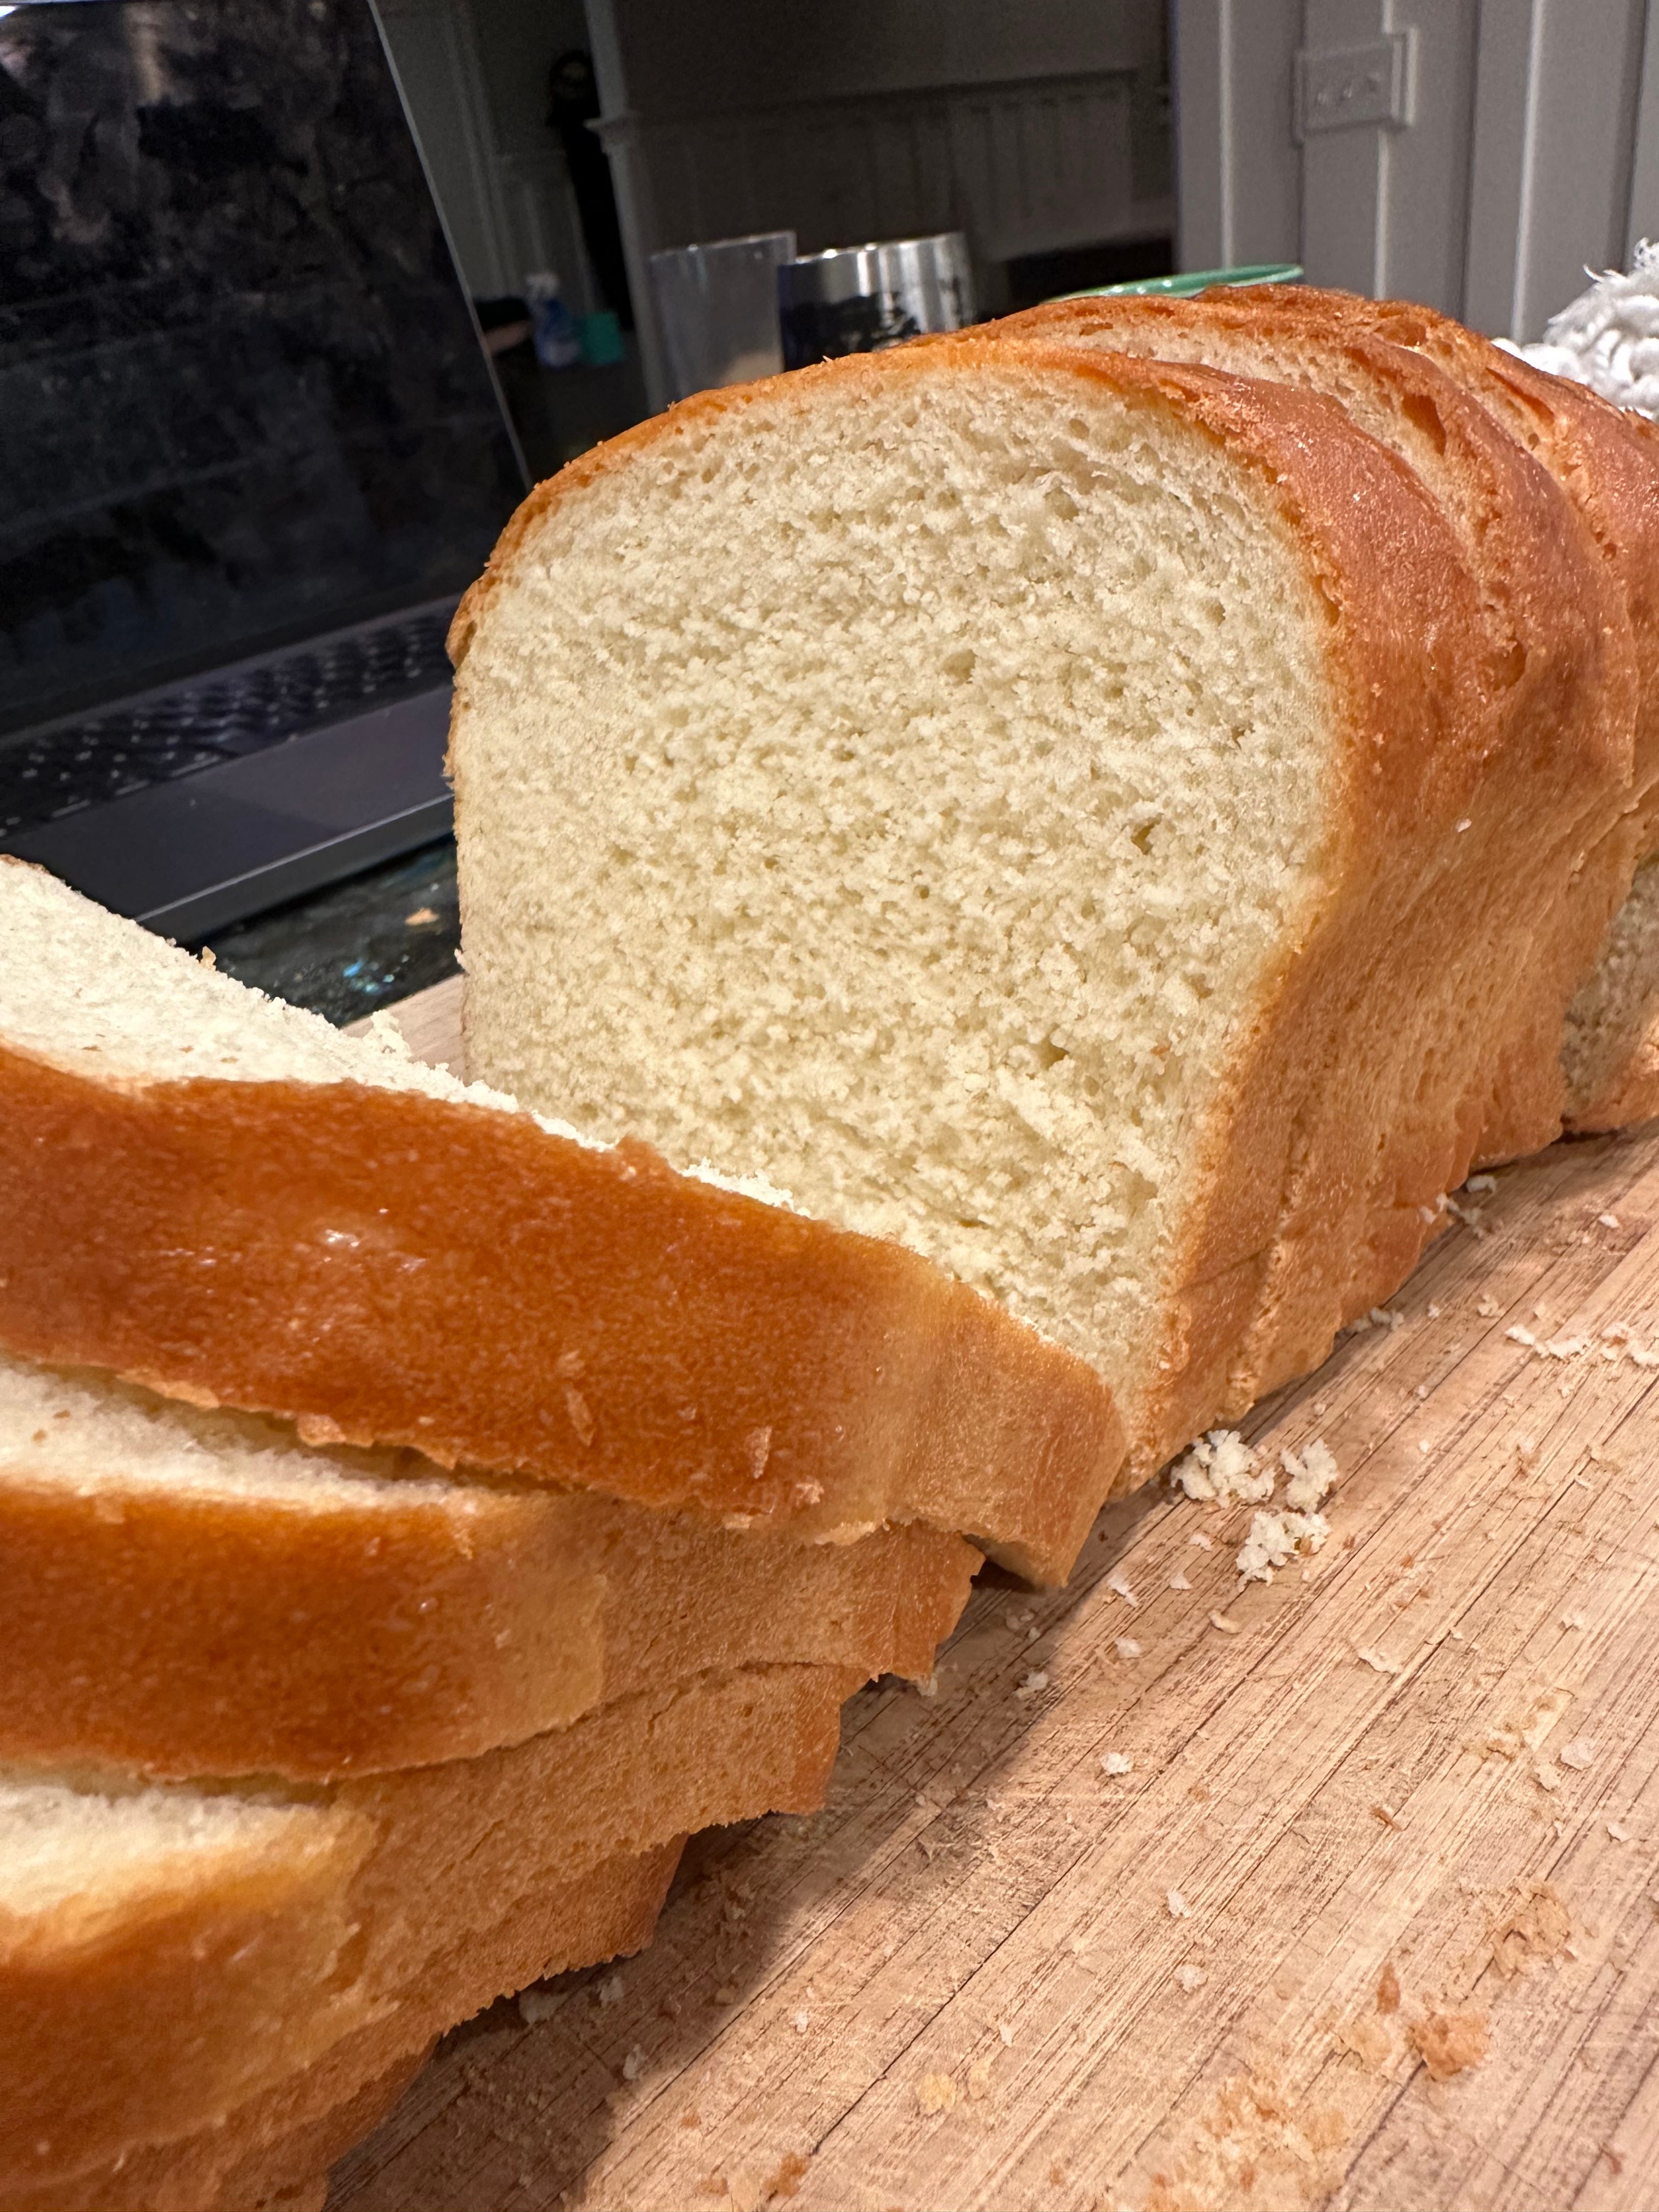
Let it cool completely before slicing. Enjoy!!
Xo,
Lauren
Yaaaaayyyy! I’ve been waiting for this but I knew you had been a little busy! 😂
This sounds DELICIOUS, will try it tomorrow! The recipe is very similar to one we use at our coffeehouse for Cuban sandwich bread: we use lard instead of butter, & we steam bake it in a baguette pan (my wife's home recipe)